The curing process is probably the most important time during the lifetime of any concrete structure. It’s the part of the process where the concrete gains its strength as the chemicals in the cement mix with water. In order for your concrete to gain the desired strength and color, you’ll want to take extra care during this process so that it doesn’t become a headache later.
The time it takes for concrete to cure and turn into its final color is approximately two weeks to a month. This depends on the concrete mix, environmental effects, curing proficiency, and the pigmentation. If these factors aren’t taken into account, the concrete can become weakened and discolored.
When the concrete is first laid, it will be a rich, dark brown color. Over time, this color will lighten and signal that it is drying out. One thing to remember, however, is that concrete gains its strength from staying wet and not necessarily from drying. Below is a detailed list of factors to look out for during the curing process of your concrete.
Table of Contents
Curing Proficiency & Timeline
Curing is the process in which the concrete hardens over time after it has been poured and set. The concrete hardens by a process called Hydration in which a series of chemical reactions take place when water is mixed with the cement mixture (most commonly, “Portland Cement”).
Water-curing (or “moist-curing”) is when water is poured onto the cement to keep it wet until it has gained its compressive strength. This method of curing can increase the concrete’s strength by up to 50%.
Most manufacturers will design the strength of the concrete to be upwards of 4,000 to 6,000 psi (pounds per square inch). 4,000 psi is the minimum strength of most concrete structures such as sidewalks.
Most concrete professionals and manufacturing companies recommend the length of the curing process should last upwards of 28 days (or one month). However, you should always consult the instructions that come with the specific concrete mix you buy.
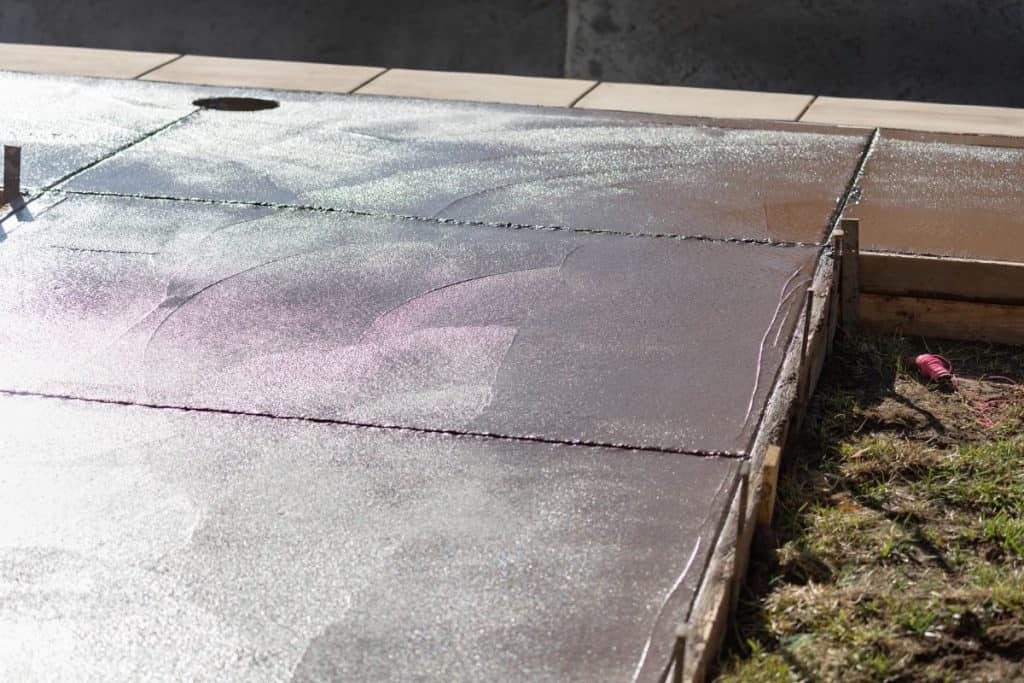
A few methods of curing include ponding the concrete, which is the technique of creating an artificial pond on top of flat, horizontal concrete slabs, and keeping it full even as the water evaporates.
Secondly, you can mist or spray the concrete with water constantly.
Another method to use during the curing process is to cover the concrete with thick sheeting like burlap, straw, canvas, or polyethylene plastic. Use these coverings to keep the concrete moist when you aren’t able to water the concrete with a hose or through ponding.
Below is a general and summarized timeline of the curing process for most concrete mixtures:
- 24 hours: The curing process should begin within the first 24 hours of laying the concrete. Water-curing techniques are ideal for helping the concrete develop its designed strength.
- 48 hours: The forms you used to hold the concrete in place may be removed and people can walk on the surface of the concrete (if it’s a driveway or a sidewalk.)
- 4 days: This is considered the minimum time needed to cure most concrete. However, it’s recommended to lengthen the curing process at least 7x longer so the concrete can continue to gain strength.
- 7 days: After a week, it is still only considered “partial curing,” however, the concrete can support large and heavy equipment or machinery.
- 28 days: After about a month, the concrete will have reached its designed, or “compressive,” strength.
Concrete will continue to get stronger over time, and never fully dries. Some water will remain behind in the chemical makeup of the concrete, even though it looks dry. This water only adds to the strength of the concrete, not the other way around.
Related article: Will Concrete Cure Underneath Dirt?
The Nature Of White Concrete
The natural color of most concrete is a light gray. If you want your concrete a different color, such as white, then you will need to add the white coloring before your mix and pour the cement.
Note that there are other techniques of coloring concrete that you can only try after the concrete had gone through the curing process. Be sure to consult with a professional about whether each technique is the right method for your specific concrete.
Pigmentation & Coloring
This technique is the only technique that must be done while you are mixing the concrete and before you pour it into its intended location. This is done by mixing in iron oxide pigment in with the cement mixture in the concrete.
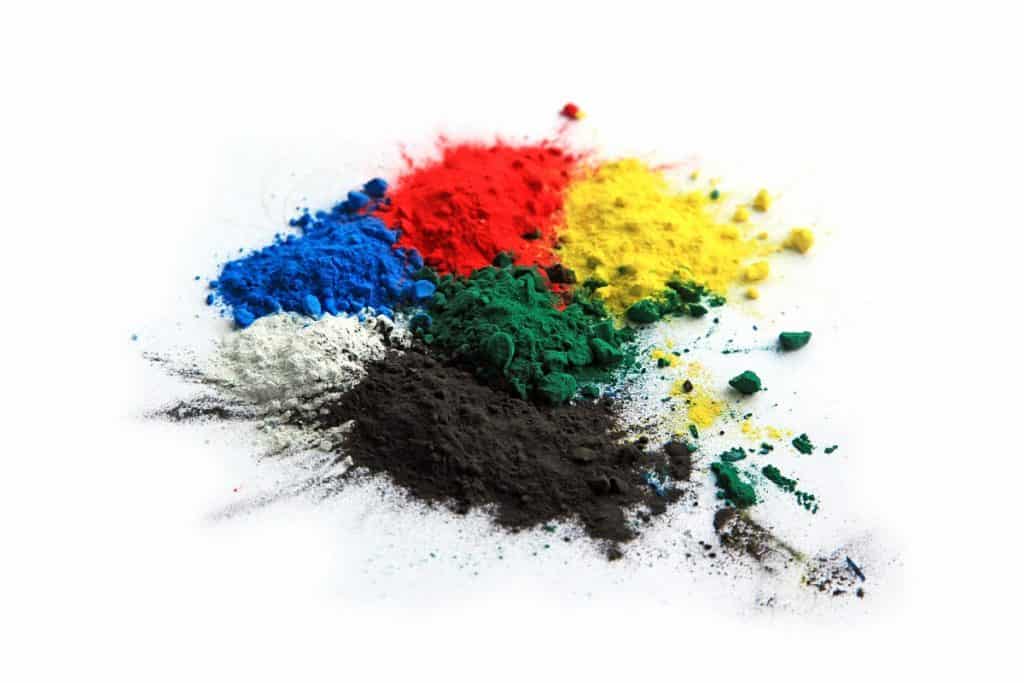
There are many types of colors to choose from. In terms of the color white, the cement mixture will carry the pigment in the cement. White cement tends to be more expensive than normal cement. The pigments do not influence the strength of the concrete after it has cured.
Be sure to mix the pigment all the way through the concrete mix so that when it is poured, it will appear uniform throughout. For example, you can use Titanium Dioxide White Concrete Pigment to add to the mixture.
Much like the compressive strength, the designed color of the concrete should show through 28 days after the curing process.
One caveat to consider: As you are adding this new pigment into the mix, you must still take into account that the concrete mixture must have the correct water-cement-aggregate ratio. Neglecting this will result in the inconsistent coloration of the concrete, no matter how well it is cured.
Concrete Mix Ratio
Concrete is chemistry. There needs to be a right balance of cement, aggregates, and water to produce the best compressive strength during the curing process. The mix ratio will likely determine how long the concrete cures and if it will gain a uniform color.
For example, let’s take QUIKRETE® and its concrete mix. For each 80 lb bag of mix, they instruct to add approximately 6 pints (or 2.8 liters) of water.
However, the instructions do allow for adding extra water into the mixture if it becomes too hard to mix. Thus, the final amount of water can be between 6 – 9 pints (2.8 – 4.3 liters). Source
See table below for more details:
| Package Size (pounds) | Starting Water Content (pints) | Final Water Content (pints) |
|---|---|---|
| 80 | 6 | 6 – 9 |
| 60 | 4 | 4 – 7 |
| 40 | 3 | 3 – 4.5 |
Environmental Effects
One of the major points of water-curing concrete is to keep it cool as opposed to warm or hot. In hotter or windy climates, and especially during the summer months (hotter than 77ºF), the water in the cement will evaporate quicker and thus quicken the process, weakening the concrete.

Hot temperatures at the time of pouring the concrete can cause a lot of problems:
- Cracking of the concrete.
- Shrinkage (contracting of hard concrete due to evaporating water) and warping.
- Lower compression strength (PPI).
- Decreases the overall lifespan of the concrete.
If you have to pour concrete in hot weather, it’s best to do the following if at all possible:
- Have as much manpower as possible while pouring and setting the concrete.
- Pour during a cooler time during the day.
- Protect the concrete from the sun by using parasols or sunblinds.
- Pour ice into the concrete mix.
On the other hand, if the climate is colder or freezing, the concrete can also lose water as it expands into ice and ruins its integrity. The best time to let a concrete cure is when the temperature is above 50ºF so that the chemical reactions in the concrete don’t slow or stop completely.

If there’s no other choice, it is possible to pour concrete in colder weather by taking the following precautions:
- Make sure to clear all ice and snow from the subbase before you begin pouring the concrete.
- Like in hotter climates, it’s best to have as much manpower as possible to help during the pouring process.
- Plan to work when it isn’t snowing, raining, or hailing.
- Use a “high early” cement mixture with the concrete that reaches a higher compressive strength at 24 hours and is resistant to freezing temperatures.
- Protect the concrete and the work environment by using appropriate coverings.

