Pools are a great way to transform your backyard from a patch of grass to a beautiful relaxation space, but they don’t always look as attractive as they sound. If you want your pool to be the ideal outdoor paradise, you should install pool decking that matches your space.
We have found 11 attractive & clever pool decking ideas sure to catch your eye. Read on to see photos of these 11 ideas as well as an explanation of what they are and how to do them.
But before you decide which type of concrete pool decking you would like, it’s wise to have a look at the average cost of installing concrete around your pool. That way, you don’t get a heart attack when it’s time to pay.
Table of Contents
Stamped & Stained
Our first attractive and clever pool decking idea is a classic combination of stamping and staining.
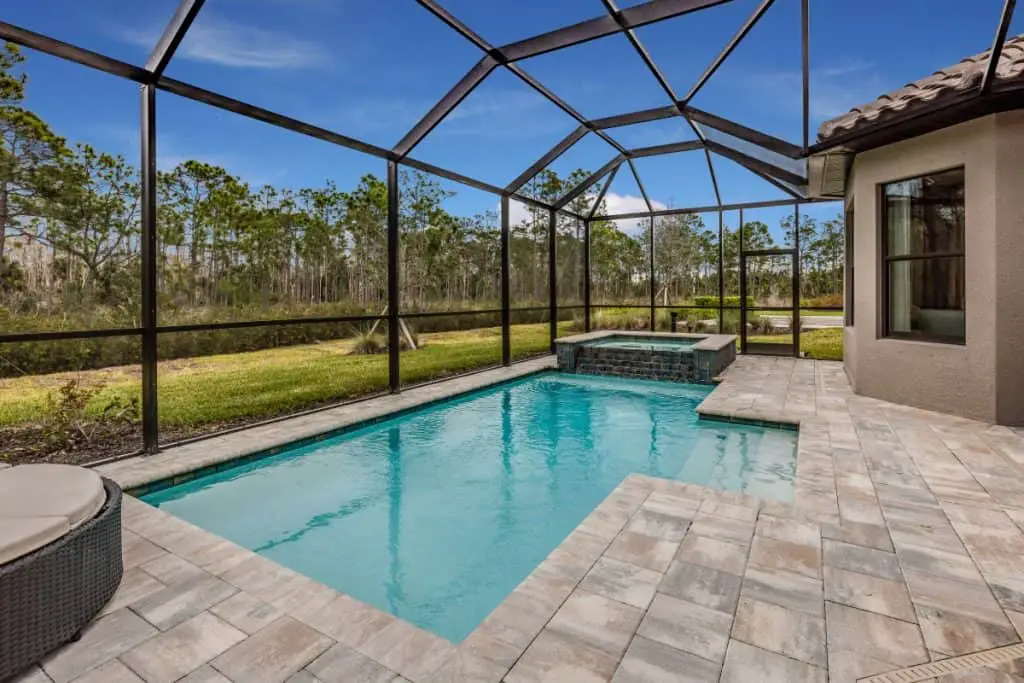
This pool decking was done by pouring concrete, letting it cure for a while, then stamping it in a square pattern.
The rim of the pool was left smooth and unstamped to add some contrast, but it was stained like the rest of the decking.
After curing, the concrete was stained three different tones on top of a tan base.
The first tone is a grey-brown, the second a sandy color, and the third a reddish-brown.
Also Read: The Difference Between Acid Stain and Concrete Stain
These three tones were mixed around the edge of the pool, but in the stamped area they were applied to tiles in a random order, with one color per tile.
The stamping and multi-colored staining make this pool look classic yet interesting.
Mock-Wood Stamping
Our second example is an uncommon one: mock-wood stamping.
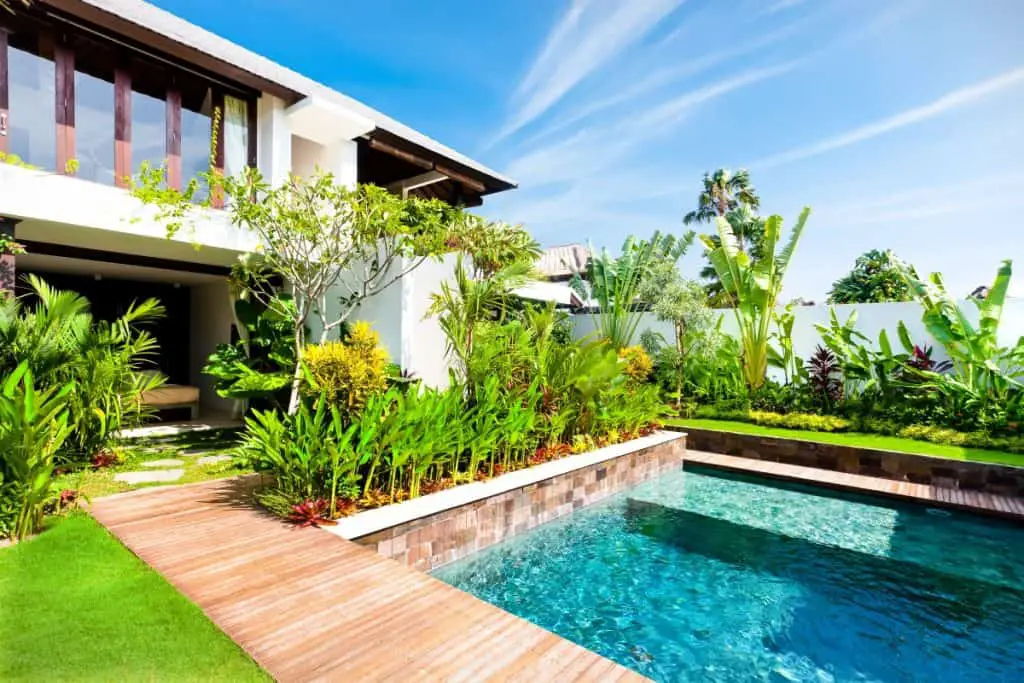
This pool had concrete installed for the decking and -before fully cured- this concrete was stamped with a straight line, wood grain stamp to give the appearance of wood planks.
After these “planks” dried, the contractor took a few stains of similar tones and stained each plank with a different tone than those next to it to show variety in the stamping.
This unique feature is paired with another: plants on the short end of the decking.
Rather than do wood stamping on all 4 sides of the pool, these owners decided to have one edge be occupied by plants.
This was done by creating one side of the pool with a small, rectangular hole in it.
After curing, this concrete was left unstained, but the hole was filled with dirt, rocks, and tropical plants.
Concrete & Rock Combo
Simpler than the last idea is a concrete and rock combo.
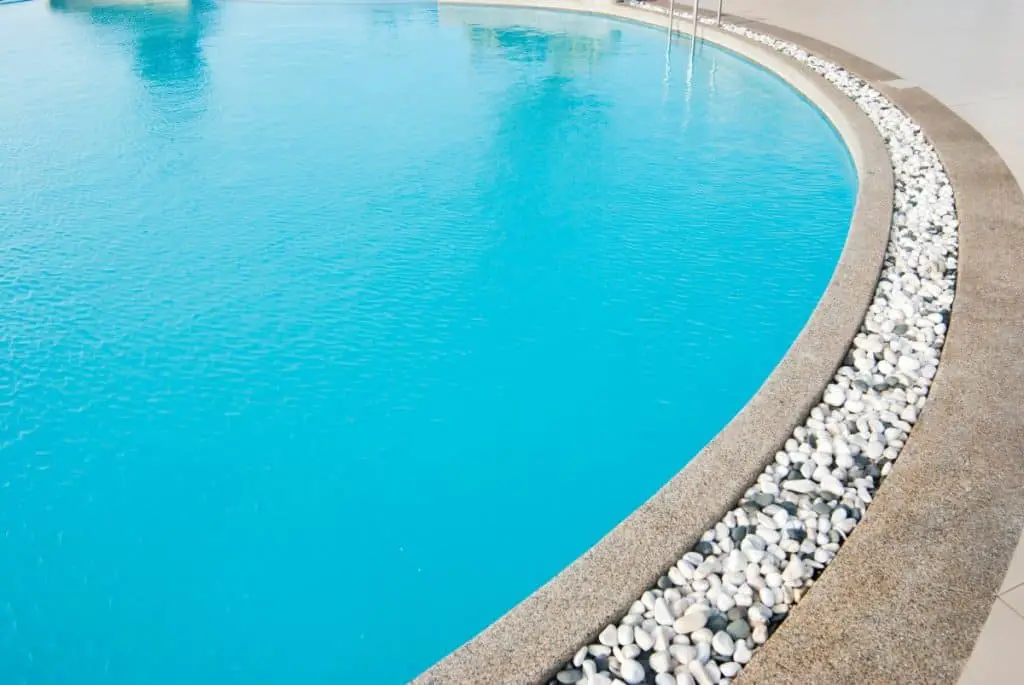
This combination can be done on a pool with a lot of concrete decking (such as this one) or it can be done with a pool that only has edging separating it from the grass.
To create this look, you must get your pool edged with a hole in the middle of the edging that goes all the way around the perimeter of your pool.
This small indent will be where your rocks sit once your pool is done.
If you so desire, you can stain the concrete that you installed, but you can also just pour your choice of rocks all along the edge as the homeowner of the pool above chose to do.
Raised Precast Concrete
Precast concrete may be a term you are unfamiliar with, but it simply refers to concrete that was poured into a cast (or form) and cured at a location other than the installation site.
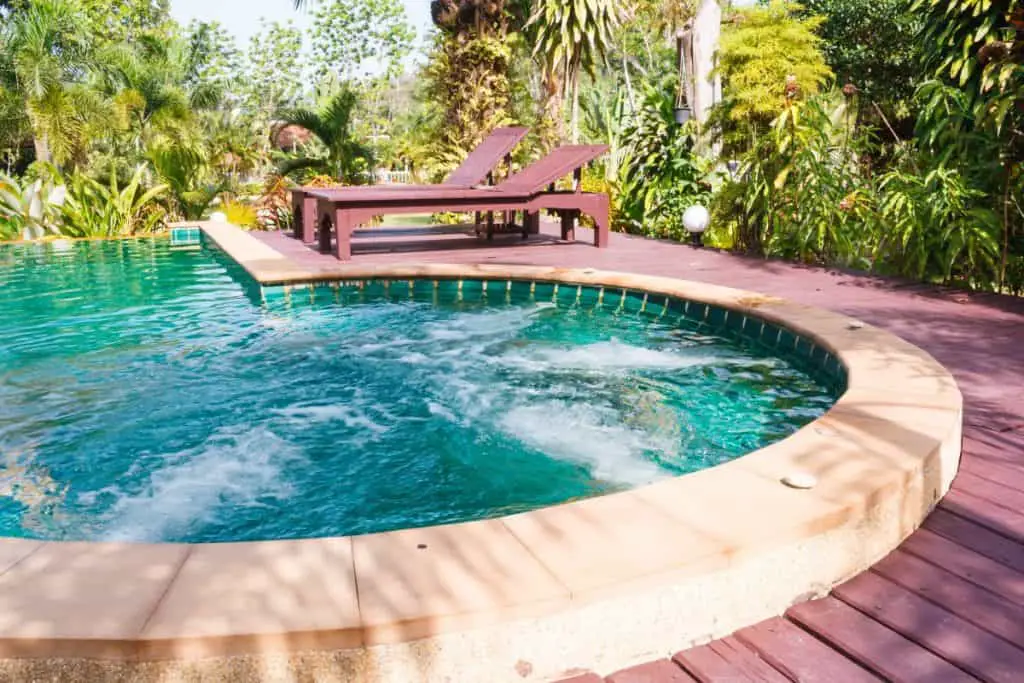
In this photo, the precast concrete was installed in a circular shape, put in place with mortar, and left to cure.
After curing, the homeowners decided to stain the top section of this pool to give a bit of subtle contrast between the orange and plain-colored concrete.
2-Tier Stamping & Staining
This pool is a uniquely beautiful design and #5 on our list. It is a hot-tub combined with a swimming pool, with the hot-tub being on a higher level than the swimming pool.
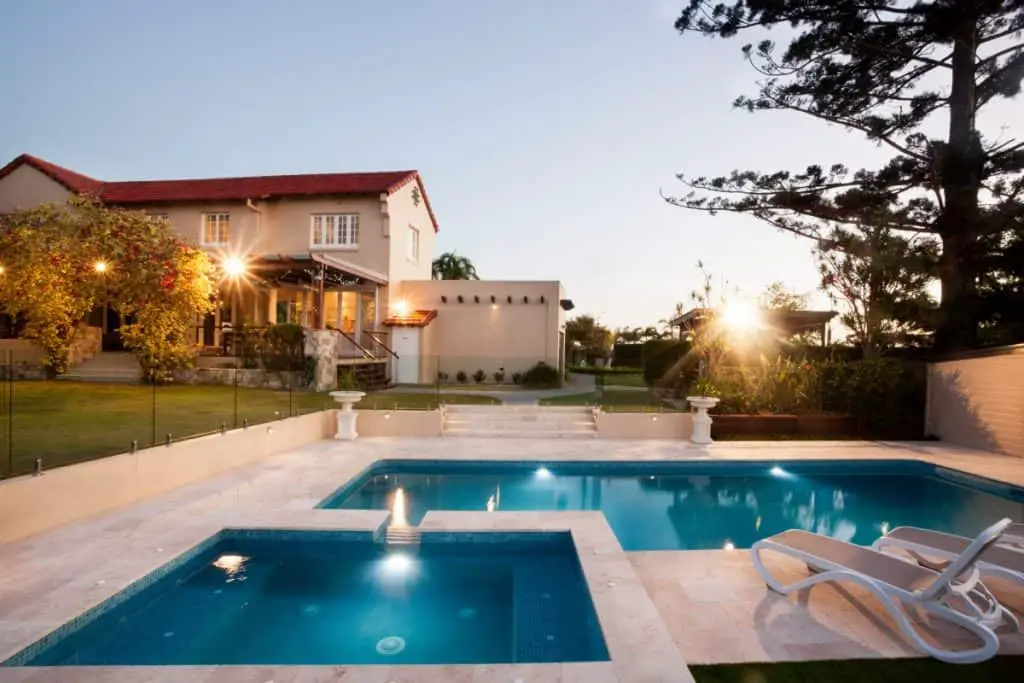
In addition to the two-tiered design of this hot-tub and pool installation, the homeowners decided to stamp and stain the entire decking, including the stairs.
Stamping was done using a shallow and fine square shaped stamp. This shallow look gives the decking an elegant and simple design.
Once their decking was cured, these homeowners decided to use a soft tan stain to add some variety and color to their pool area.
This stain was applied in an all-over fashion to give a uniformly interesting look.
In addition to the decking being two-tiered, it is sunk a few feet into the ground with concrete retaining walls surrounding the area.
These retaining walls were painted a tan color to match the staining done on the deck.
Stamped, Stained, & Etched
This pool decking is stamped, stained, and etched. This pool is perhaps the most intricate of all the designs we have gone over thus far.
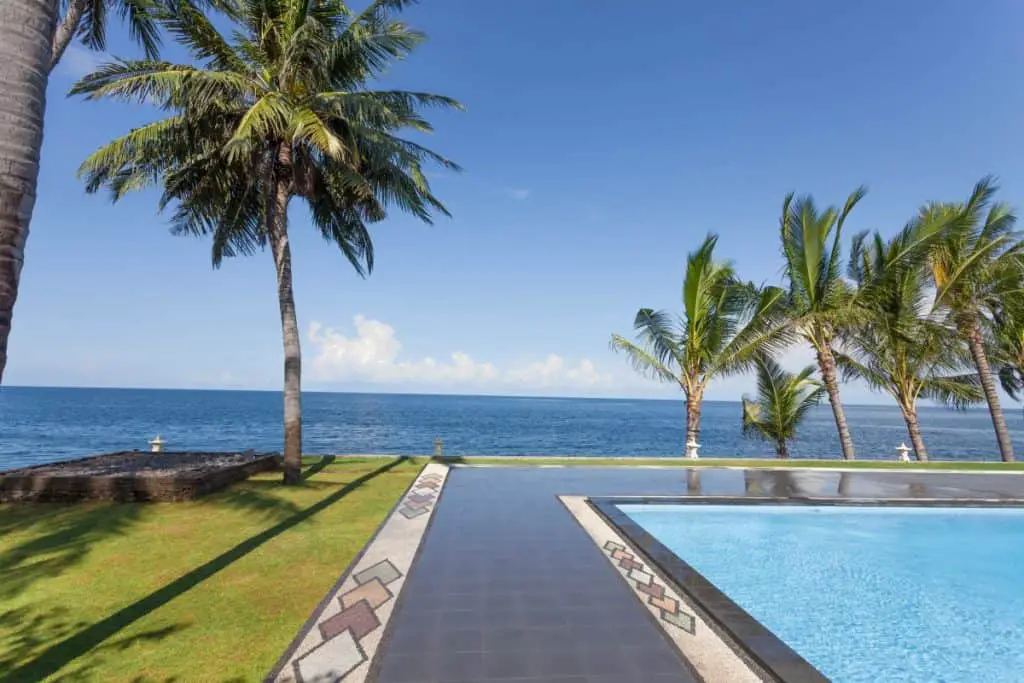
The first step to take in attaining this complex look is to stamp the center of your concrete with a square stamp.
Leave a foot or so of space on each side of your square stamping area to ensure you have room for your other designs and colors.
Once you’ve stamped the perimeter of your deck with these squares, it is time to move on to the etching.
The etching is done by drawing with a tool in wet concrete. The multi-colored, multi-layered diamonds are what is etched on this pool, but you can etch any design you please.
Once these etchings were done and the decking dried, a single tone of black stain was applied to the center square stamped area of the decking.
Where etching was done, black was used to hand-paint the outlines of the diamonds, and multiple colors were used to fill them in.
Around the diamonds, a light-grey stain was applied to create contrast between the black and white sections of the decking and to create a finished look.
3-In-1 Design
If you want a unique look to your pool decking but you don’t want all the work, this 3-in-1 patio design is exactly what you need.
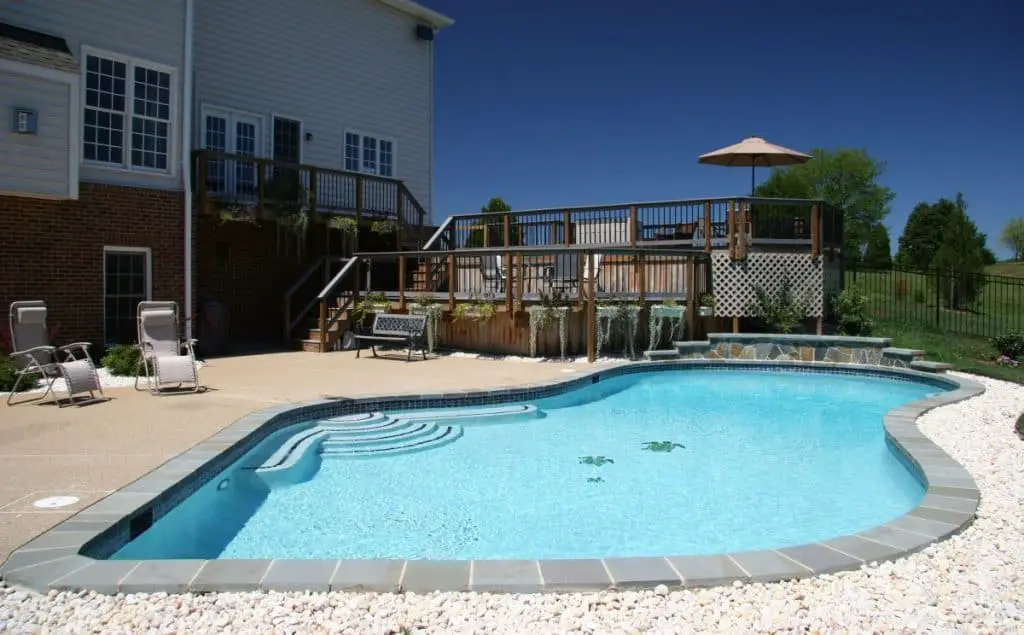
This is a look that is sure to grab the attention of others, even though it is really simple when you look into it.
All you need is an etching tool, a ruler, stain, and rocks.
For the dark square edging, you can pour concrete directly around your pool or get pre-cast concrete squares. Depending on which option you choose, you will etch lines that are a certain number of inches apart (to create the look of blocks) or you will install your precast concrete blocks.
Either way, you will wait till this section is dry to stain it whatever color you please.
As for the other two areas -the ones surrounding your pool- you will have one side level with the edge of the pool and one side dug into the ground a few inches.
The side that is level with the pool will be poured as usual and stained once dry. You may also leave this section unstained if you are pleased with the original color of your concrete.
The side that was excavated a few inches will simply be filled with the rock or stone of your choice. If you wanted, you could fill it with a material that is not painful to walk on, such as sand or recycled tires, so you can use it as a play space for any pets or kids you may have.
Classic-Modern Mix
For a concrete deck that is a perfectly simple balance of classic and modern designs, try this classic-modern deck mix!
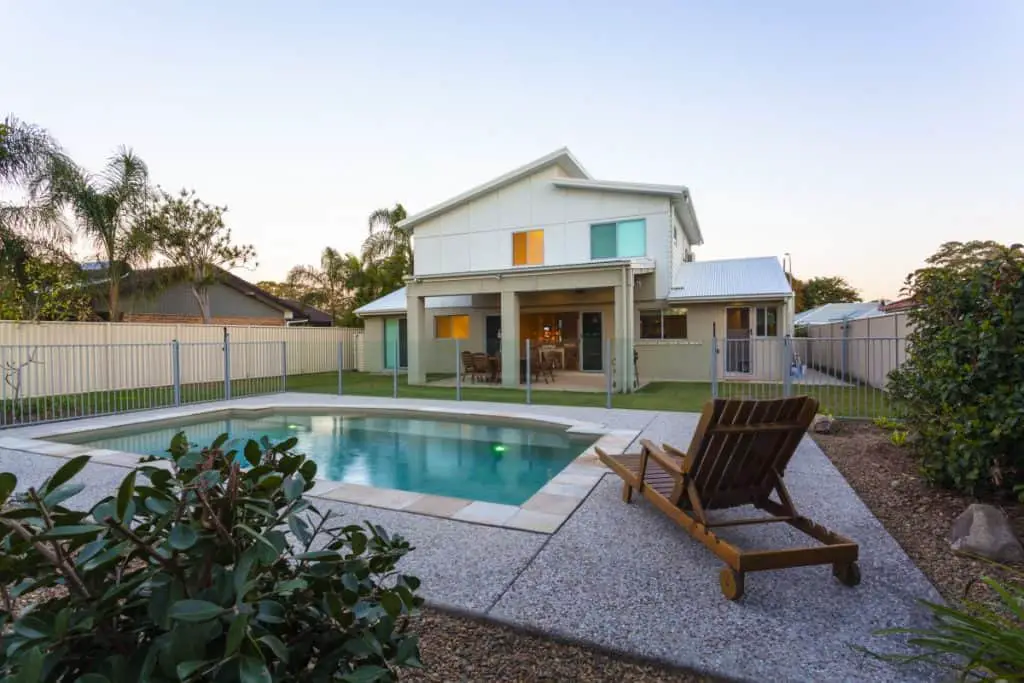
This is a simple decking job, with the hardest part being the stamping and staining directly around the pool. To get this look, take precast concrete blocks and place them around the perimeter of your pool or pour fine-aggregate concrete around the perimeter of your pool and let it dry before etching lines.
Whether you use precast concrete and mortar or the pouring and etching technique, you should wait for them to set completely before you stain them.
These homeowners used three different stains (a light, medium, and dark shade of a reddish-brown tone) in a “1, 2, 3, repeating” pattern, but you could do any variation you would like.
The second half of this decking is coarse-aggregate concrete. This concrete is often used for sidewalks and driveways, and it has aggregates (pieces of rock, stone, or gravel) large enough to be visible.
You could get concrete with random aggregates or you could get aggregates that are a specific color- whatever you please.
This concrete is then poured into the remaining area that you have excavated for decking. Once dry, your decking is complete!
Dark And Detailed Staining
If you want a darker, more mystical look to your pool, you have found just the right idea.
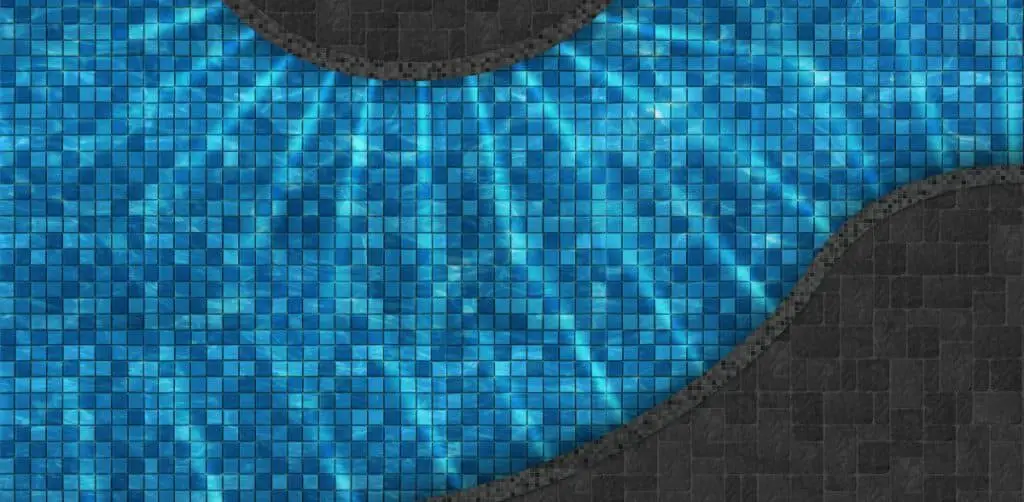
This decking is very similar to the one above, with the main difference being the color of the concrete.
To achieve this look, use small, detailed stamps on the first few inches of concrete that surround your pool. For the rest of the area, you can pour a large-aggregate concrete or you can use a fine-aggregate concrete mix and stamp it with a larger design than that on the edge of the pool.
Once these areas are dried, choose both a black and a dark gray stain to apply.
For space immediately surrounding your pool, apply the grey stain all over with a larger brush, then paint small areas of the stamped design black for some subtle variation.
In the area of the decking that contains large-aggregate concrete or a large stamped design, you should hand-paint each section of the design black, grey, or a mix of both. If you have no stamped design in this area, feel free to stain your concrete using one or both of the colors.
Smooth Stamping
Our second to last design is a simple and classy mix of smooth concrete and stamped concrete.
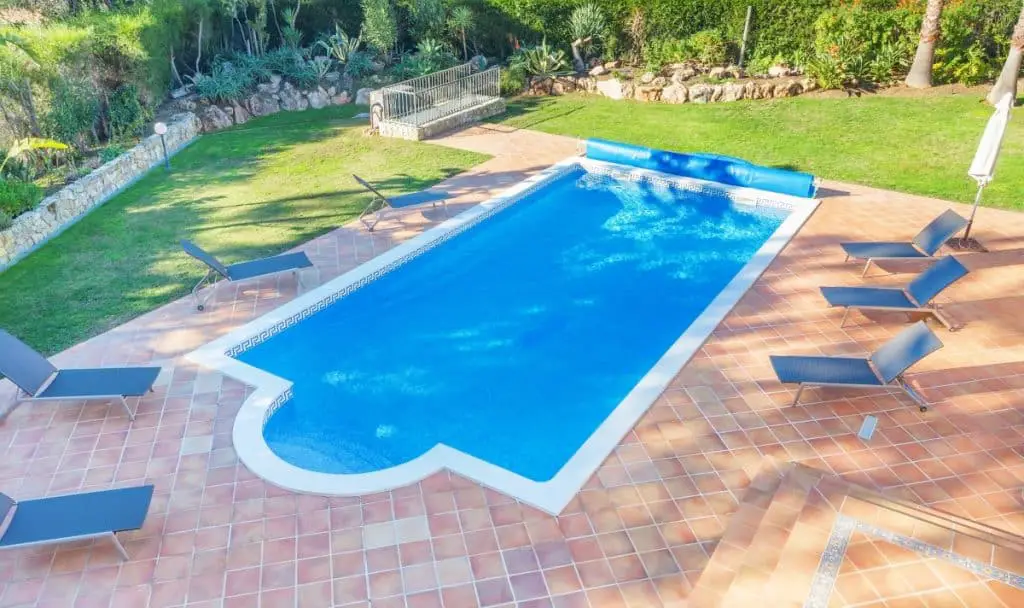
These homeowners decided to pour concrete over a large area of their yard, stamping and staining all but the immediate perimeter of their pool, which they left smooth and white.
This look is easily achieved using a square-patterned stamp and 3 mixed shades of stain.
If you choose to create this contrasting look, be sure to protect the areas that you want to remain white with a tarp before staining near them.
4-Pattern Patio
For our last idea, we’ve found a pool that has 4 different design elements used in the decking.
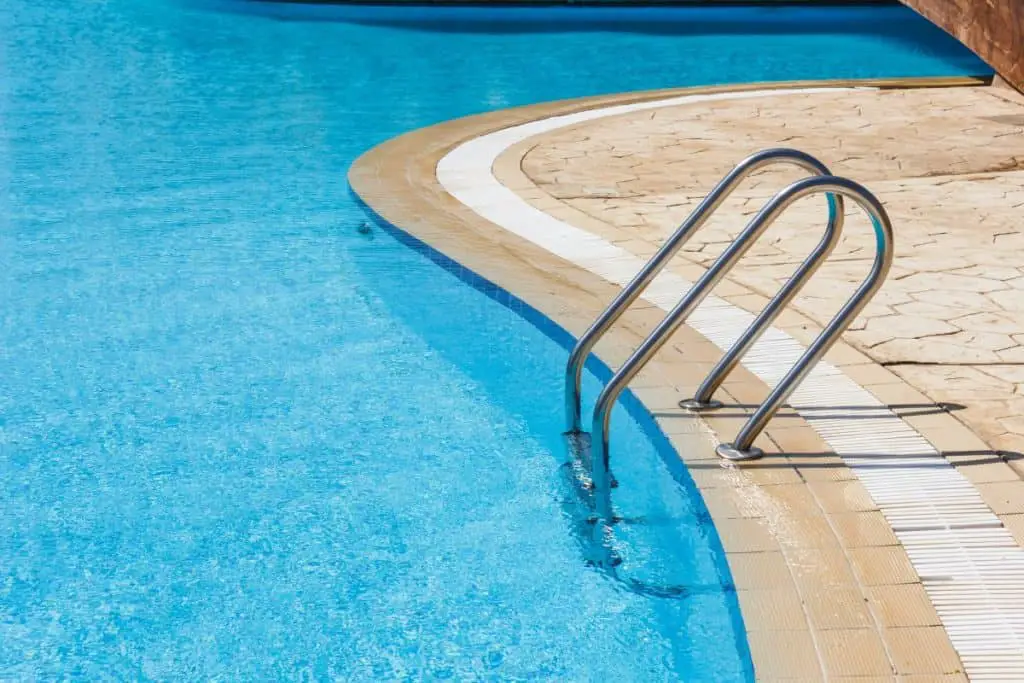
Working from the edge of the pool, outward, we have 4 layers of 4 different types of stamping and 2 types of staining.
The first layer -the one that immediately touches the pool- was stamped using a small rectangular design and stained a light sand color.
Next is the only section not stained this sandy color. It is a plain white drain section made of reinforced plastic to catch the water that is splashed out of the pool.
The third layer is a singular stripe of sandy-colored concrete stamped with a small rectangular stamp.
Lastly, we arrive at the largest area of the deck. This area is stained with the same color that the other 2 sandy colored sections are stained with, but it is stamped with a unique stone-like pattern.
These 4 elements in 4 different layers combine to create a beautiful and creative look to your pool decking.
