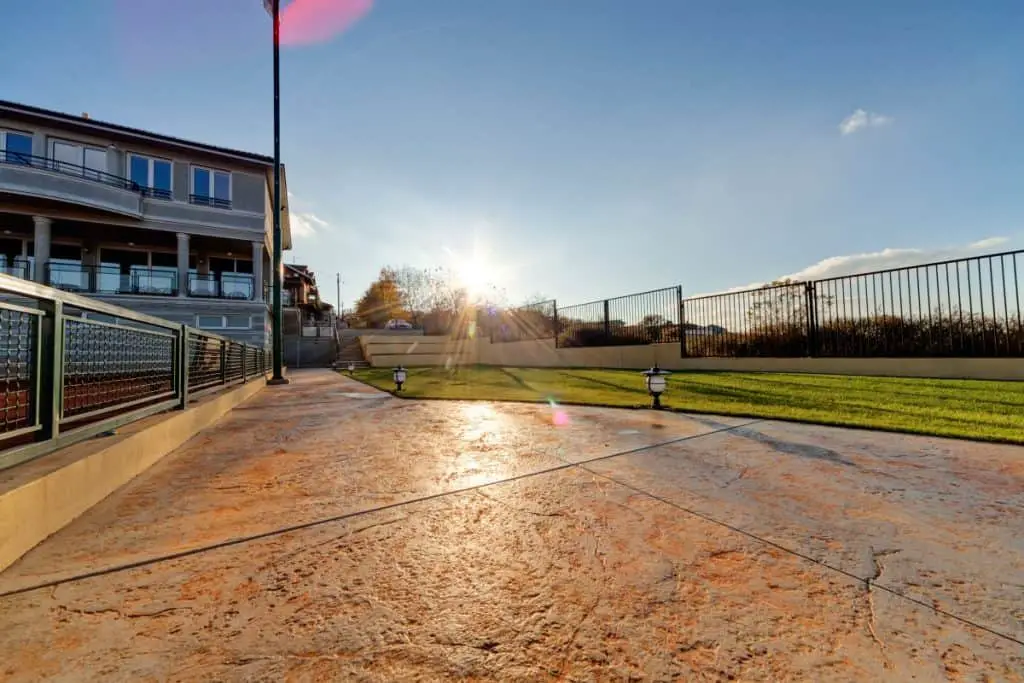
Concrete stamps are tools for imprinting texture and pattern into freshly poured concrete. Since the early 1950s, concrete stamping has been enhancing the look of concrete. Back then they used large aluminum frames that looked like giant cookie cutters.
Today, we can achieve a much more realistic texture and design, which makes some forget that it started as a simple mixture of concrete. We use flexible mats which come in a full set and can be laid over the top of concrete to imprint a pattern.
Below are 11 popular patterns and pictures that represent the texture and pattern. There are more in addition to this, yet these are among the most popular. Check out the ones available for you to rent or to have a professional install for you.
Table of Contents
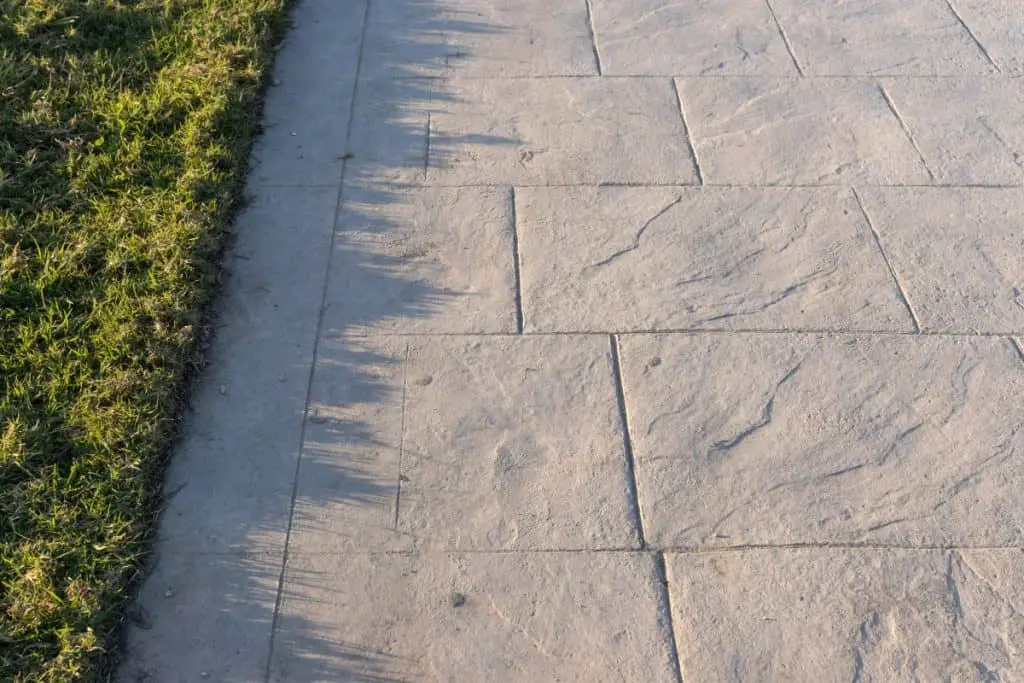
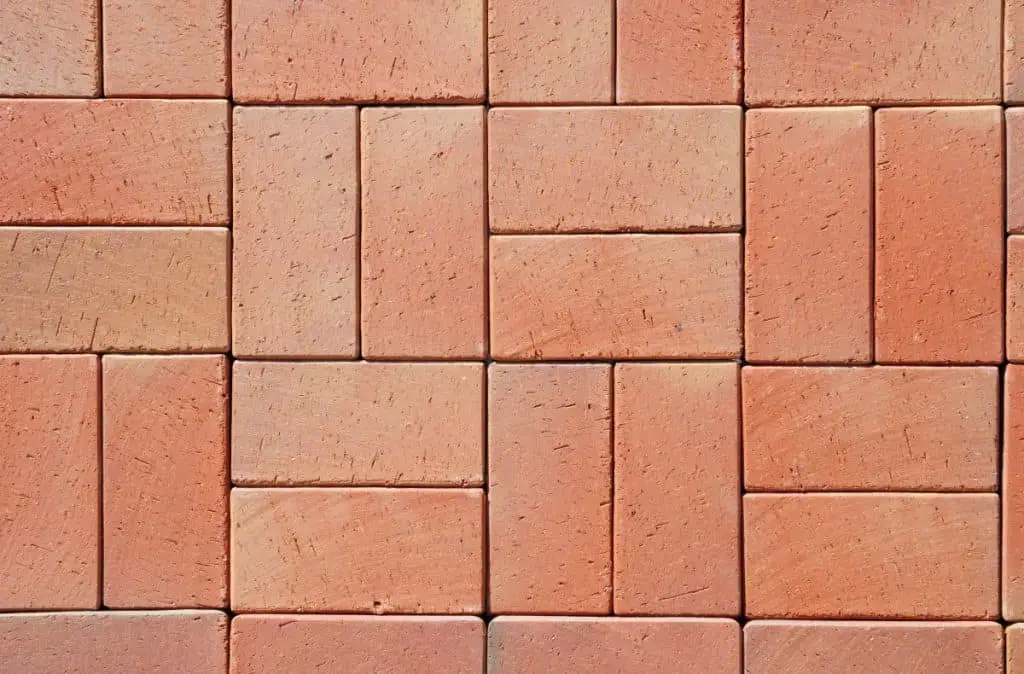
1. Brick Pattern Stamp
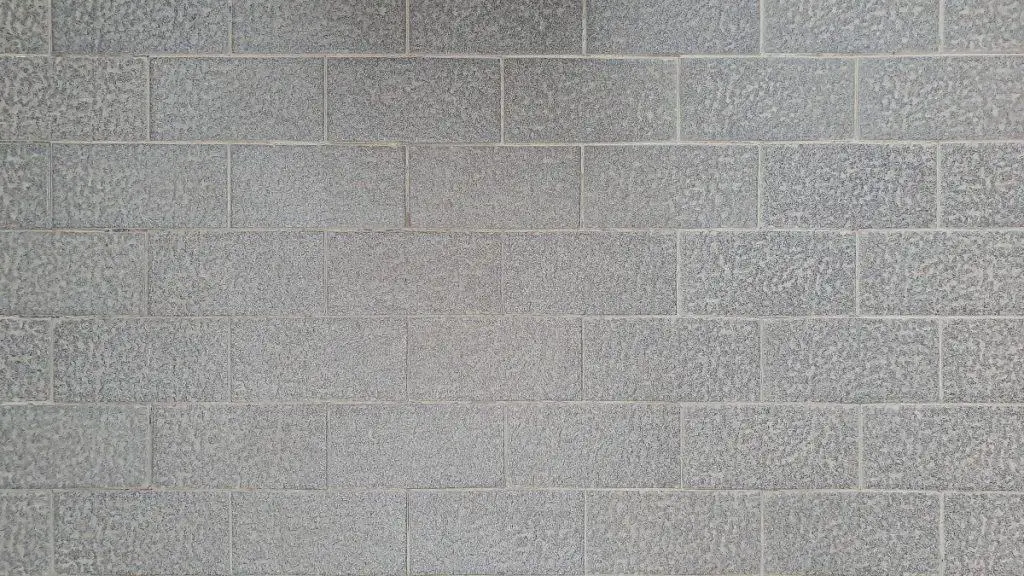
There are a variety of brick patterns that can be used to make beautiful and unique designs. This is one of the most common forms of stamped concrete and offers a very sophisticated look.
2. Rough Stone Stamp
If you are looking for something less typical, creating a rough stone surface is more unique. It also gives traction to the surface.
3. European Fan Stamp
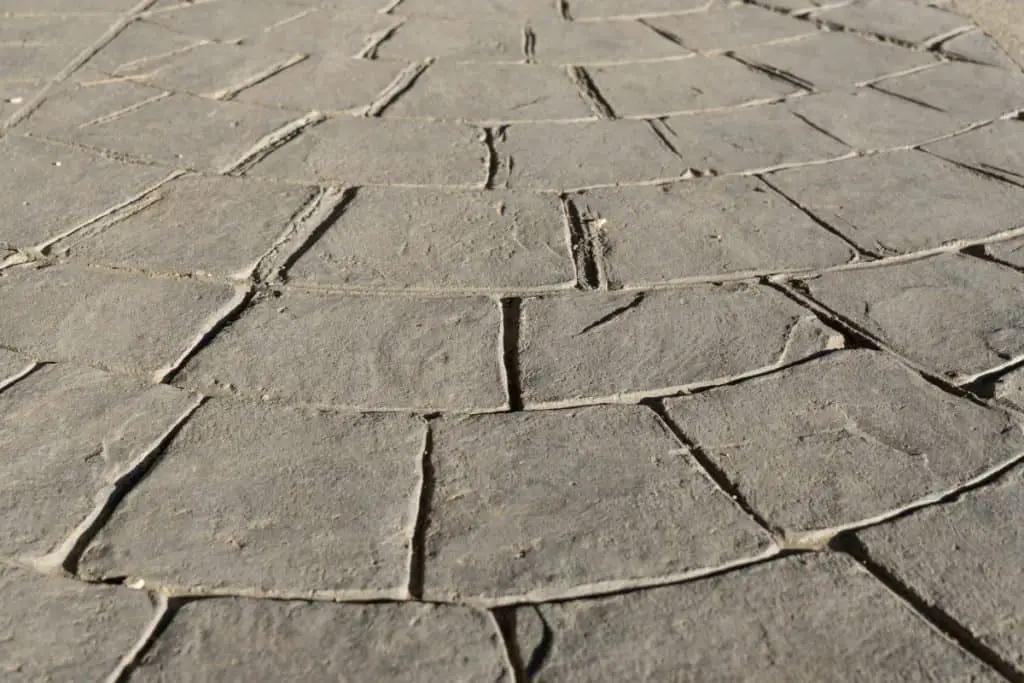
As in the old world, pillars and arches are what make this stamp unique. It provides a circular pattern that can be very appealing.
4. Classic Wood Stamp
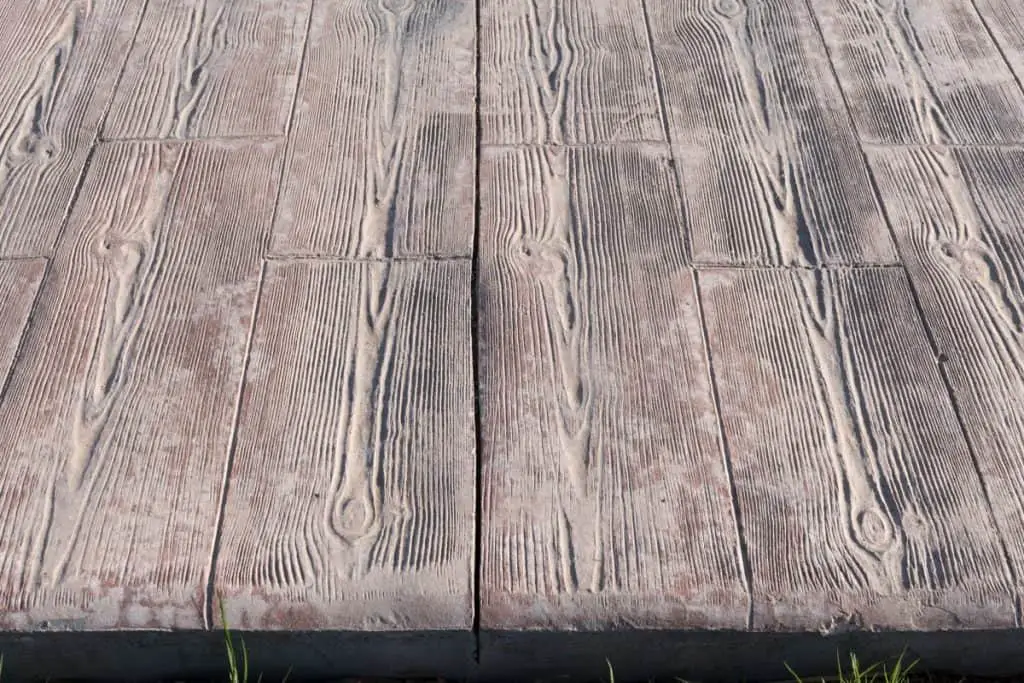
Real wood requires much more maintenance and replacement than the concrete alternative. It gives your area a rustic look without the high upkeep.
5. Slate Stamp
Slate gives off a smooth yet broken surface. Rather than installing slate pavers, it can be replicated with concrete.
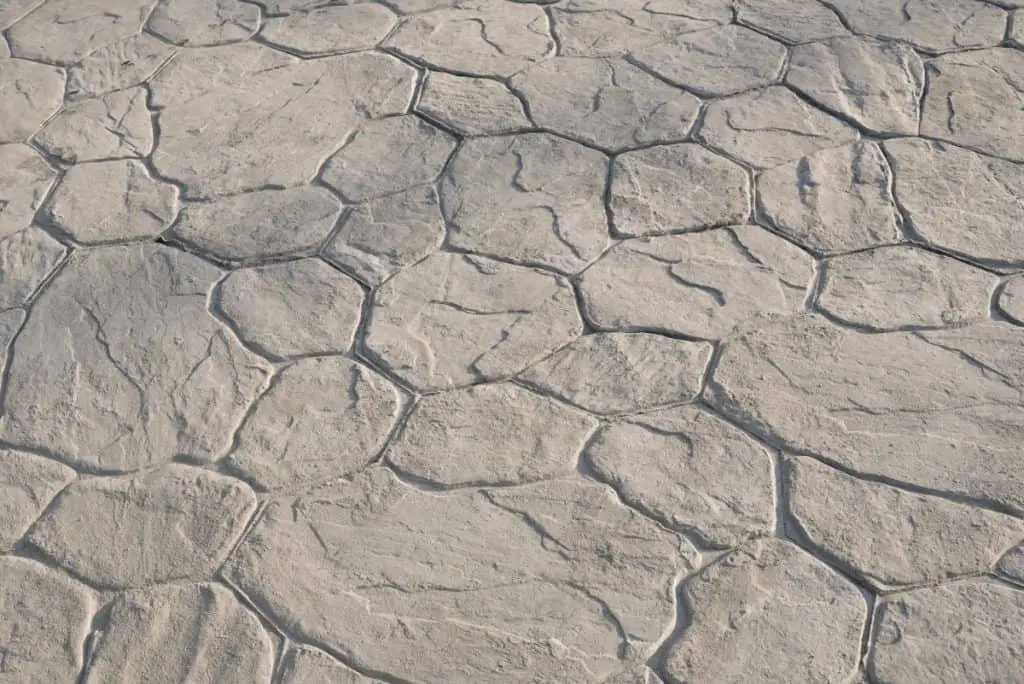
6. Flagstone Stamp
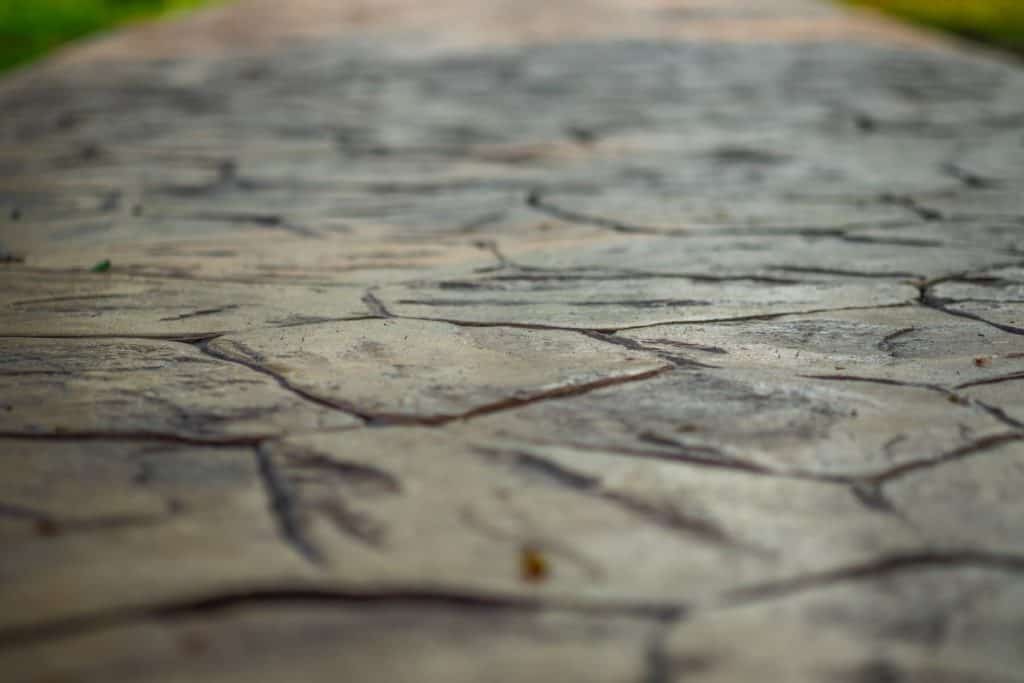
This allows you to closely resemble sandstone and other sedimentary rocks without the flaking and other problems caused by them. Adding color can also complete the look.
7. Cobblestone Stamp
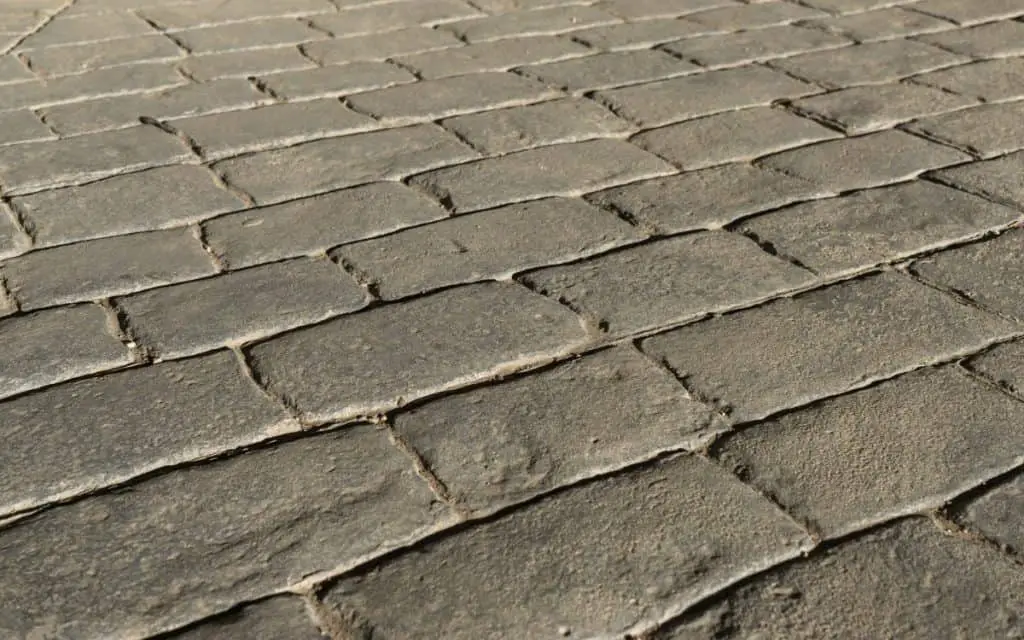
These offer an old-world look as well, reminiscent of the old roads in Europe. It is characterized by its rounded lumps of stone.
8. Herringbone Brick Stamp
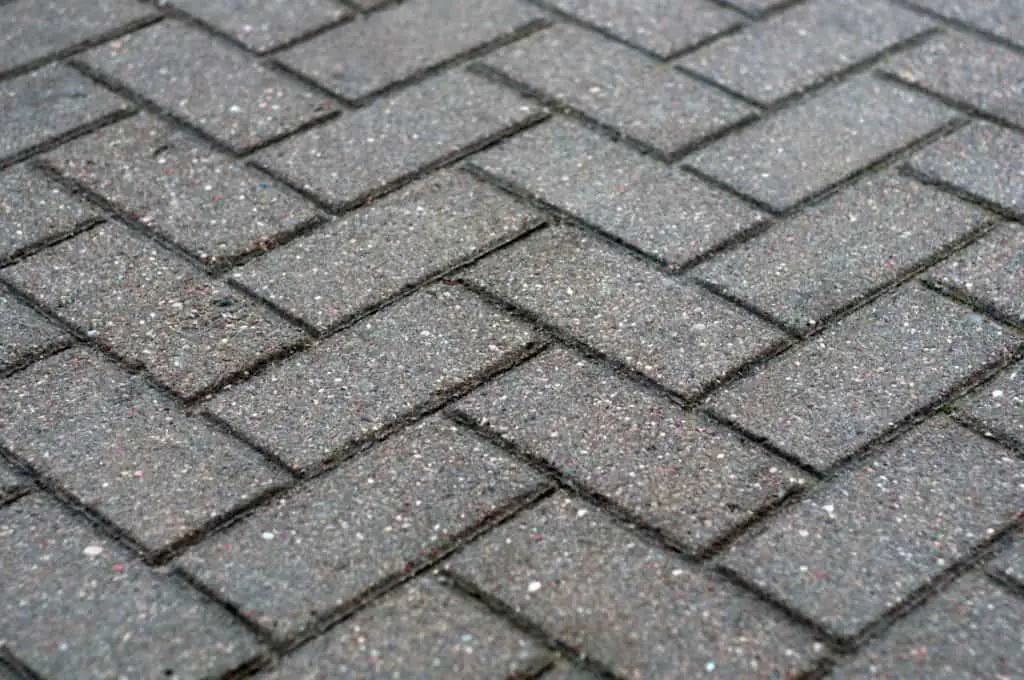
This is a great pattern used in small spaces or paths as it draws your eyes forward. It is well known and loved because of its beautiful complexity.
9. Random Stone Stamp
This allows a lot of variety and options. It often leaves the concrete with a little bit of an undone fill, which makes for a unique look.
10. Basket Brick Stamp
This is called the basket look because it looks woven. It would make for a great patio design.
11. Compass, Gecko, Star Stamp Designs, etc.
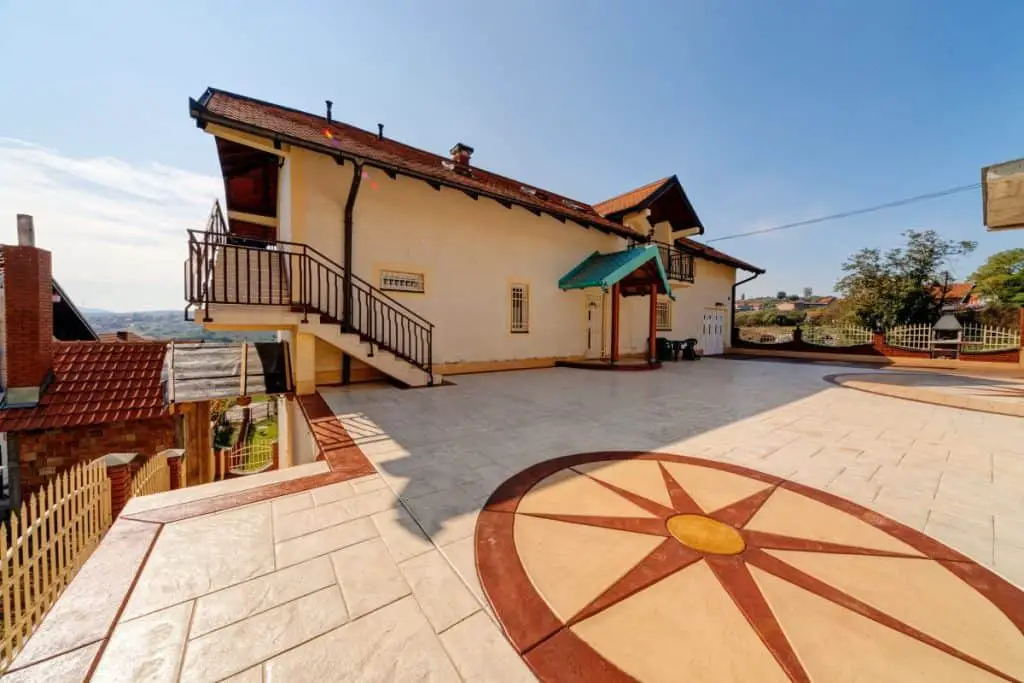
Lots of centerpieces and accents can also be added to enhance the appeal of the concrete.
In addition to all of these stamp designs, you can customize your own and watch as more continue to be made. Most contractors will update their stamp collection yearly as the times change. These are some of the most popular and can usually be found easily.
Often, people will use a variety of stamps. An example of this is using a different type of stamp on the border than the pattern in the middle. Creating a centerpiece is also popular including the use of a star or a medallion.
Cost Of Concrete Stamps
Stamps can be a great way to add character to your concrete. It personalizes the look and allows you to decorate a seemingly dull substance. Often, stamping concrete is a harder job than most people think. Hiring a professional would be a helpful option to ensure that it is done at the right time in the curing process and for the appropriate amount of time.
For a single simple stamp, it costs anywhere from 60 to 350 dollars. The price depends upon the popularity of the stamp and where you get it from.
Buying a set of stamps (normally containing about 3 mats) will cost between 600 and 3,500 dollars, but will end up being much more of an effective option for the time it will take to lay the stamp.
There is a very small time frame to accomplish stamping, and having a full set and some helpers are what will allow you to finish within the time frame.
On the other hand, there are also custom stamp designs that can cost you much more than the prices mentioned above. Custom stamp prices will depend upon the complexity of the design you want.
Another great option would be renting stamps. At most local supply stores, you can rent stamps for around 200 dollars a day (dependent upon stamp pattern). Used stamps are also an option. You can also use the things you already have. Cattle brands and other objects that can leave an imprint can be used to make great concrete stamp patterns.
The total cost for installing stamped concrete can be a bit hefty for some. Pavers can, in that case, be a great alternative for a decorative patio or driveway instead of stamped concrete. The upfront installation fee is usually a lot less with pavers compared to stamped concrete. We wrote the guide Pavers vs. Stamped Concrete: Ultimate Price Comparison to help you choose which alternative is right for you and your project.
How To Stamp Concrete
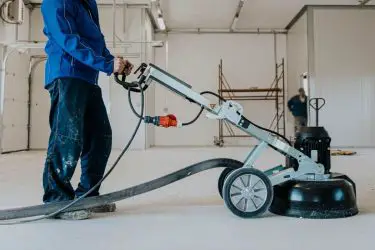
To successfully stamp concrete, you need to be organized, prepared, and experienced. Knowing which stamp you are using, being sure when to start stamping, and having all the tools you need will ensure you are ready for the process.
Also read: Best Concrete Mixes for Stamping
1. Wait Until the Concrete Has the Right Plasticity
Once the concrete has dried a little, and you can touch it without it sticking to your finger, you can begin the stamping process.
Be sure that it is not only the surface that is dry though. At times of high winds or strong sun exposure, the top can dry more quickly leaving the underneath still very liquid.
No bleed water should be on the surface. You can also try by putting a mat down, and stepping on it to ensure it doesn’t slip too deep into the concrete.
2. Use Concrete Hardener Powder on the Surface
Begin in the middle of the concrete slab, and spread concrete hardener powder evenly across the surface. Work your way to the edges and throw the powder in a way that it spreads out evenly and doesn’t go straight into the air.
After you have applied the first coat, wait 10 minutes before applying the second coat.
3. Apply a Release Agent
Using a brush, flick the powered release agent on the stamps and on the surface of the concrete in a uniform layer. The reason you do this is to prevent the concrete from sticking to the mats.
4. Begin Stamping at the Edges
Begin imprinting at the edges of the slab perimeter. This way you won’t have to overlap onto another surface if the stamps don’t line up exactly.
Be sure to start at the right angle to avoid a shifting layout.
5. Continiue to Stamp the Rest of the Concrete
Stamp the rest of the slab. Normally, you should start where you started pouring the concrete to ensure all processes are happening consistently over the whole slab.
Organize each stamp in the same sequence the manufacturer suggests, getting the best outcome. Make sure it is all lined up! After this, you can stamp the entire slab.
6. Correct the Misses and Fine-Tune the Details
Using a hand chisel or skin of texture, ensure all lines and shapes you desire are filled in.
Fix any spots that were missed, or correct unevenness and irregularities.
7. Check the Residual Release
Some residual releases require being washed off after the process is finished, while others can remain. Check the instructions on the one you chose to know for sure before you begin any other processes.
8. Instsall Concrete Joints
After the concrete has dried, you can saw in the contract joints that best go along with your design. You can also begin to groove in joints before it finishes drying.
Related article: What are Concrete Expansion Joints? (Plus helpful tips)
9. Seal the Surface With a Concrete Sealer
A final coat of sealer will make for a shiny clean surface that is protected from the elements and other erosion.
Roll it on as evenly as possible through the entire surface. Rolling it over multiple times to ensure it is properly spread out.
Read our guide, How to Seal Concrete in 7 Easy Steps, to get a better understanding of how it works.
Other Stamping Tips
There are many great benefits to stamping concrete. It prevents fading, works great indoors and outdoors, offers a variety of design options, is low maintenance, not too expensive, and is durable. It often leaves people guessing if the surface really is concrete or a more intricate handcrafted stone project.
A couple of helpful tips will help as you stamp concrete:
- Before you begin stamping your concrete, be sure your tools work by practicing with sand.
- Better results will come about if you use proper releasing agents.
- When you or other workers are walking around on the stamps and concrete, be sure all footwear is free of dirt, sand, and other debris that could potentially fall into the concrete mixture.
- If you are considering buying to renting stamps, it is important to know that stamps can last up to 10 years if they are properly cleaned after each use.
- Keep in mind the supplies you will need: Color Hardener, Release Agent, Sealant, Stamp Tamper (a tool used to push the stamps into the concrete), The stamps themselves, and some touch-up tools.
- Ask your contractor beforehand to test out the feel and look of their stamps.
- Cut contraction joints the day after you have stamped the concrete.
- Avoid repetition by changing up the alignment of the mats. Some manufacturers offer a guide to ensure to get lots of variety.