DIY projects have been popular because they take the need out of paying someone to do the work yourself. But pouring and mixing your own concrete to create your own DIY driveway can seem like a daunting task to be left to the professionals. Anyone can become the expert they need to be to insure that they are left with a project to be proud of.
Anyone can install their own DIY concrete driveway with the proper tools, information of the area, and newfound skills of pouring and setting concrete. While smaller projects are easier to do, a 9-12 feet wide slab to park a single car is achievable for anyone willing to pursue this task.
To be able to take on this DIY project with the confidence and abilities needed to achieve it, here are some steps and tips to help you be satisfied with your do-it-yourself work.

Table of Contents
Supplies Needed to Build a Concrete Driveway
- tape measure
- plywood
- stakes
- string
- string level
- gravel
- concrete mix
- concrete mixer
- wheelbarrow
- plastic tarp
- builders shovel or hoe
- bull float or darby
- edging tool
How to Install a Concrete Driveway Step by Step
1. Check Local Laws and Get a Permit (If Needed)
Before you even think about building a new driveway yourself, you will need to check your city’s laws to see if you will need a permit.
You will also need to check if there are potential sewer, gas, or other important pipelines you could possibly run into if you do this project.
You will need to ensure the safety of yourself and your neighbors before any work is done.
2. Measure the Area and Dig Out 4 Inches of Soil
You will need to plan out the size of your new concrete driveway so that you know how much material and work will be needed to start and finish your project.
Driveway sizes can range from widths of 9-12 feet if you are planning on installing a single car driveway to 20-24 feet for a double car driveway.
The length of the driveway will depend on the land available for this project.
Once you have come to a decision about your desired size, measure it out with a tape measure and mark it on the ground with stakes and string, tying them together where you will be digging and pouring the concrete.
Plan to dig at least 4 inches into the ground where you are going to pour your concrete so that the driveway can support the weight of the cars you want to park on it.
Depending on the size of your desired driveway, it would be easier to split it into smaller sections before pouring the concrete.
That way, you don’t run out of time as you are trying to get it into place as it begins to set. A good size of the grid sections would be like a 2×4 plywood.
3. Prepare For The Concrete
Before you begin pouring the concrete, you will need to lay down a few layers of material to ensure your proud handiwork lasts a while.
Put gravel down first on your now 4-inch deep driveway space to ensure you have a study base for the concrete to rest on top of. This step prevents cracking in the future.
Then, put tarps or plastic bases down on top of the gravel to keep unwanted moisture from the ground getting into your setting cement. At this point in the process, you will want to put the 2×4 plywood grid in place if you have chosen to do so.
4. Make The Concrete
There are a couple of options you have for concrete depending on the amount of work you want to do. You can pay to have concrete poured into your sectioned off driveway, which is about $4-7 per square foot.
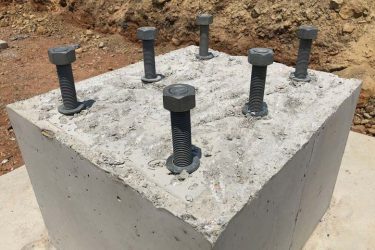
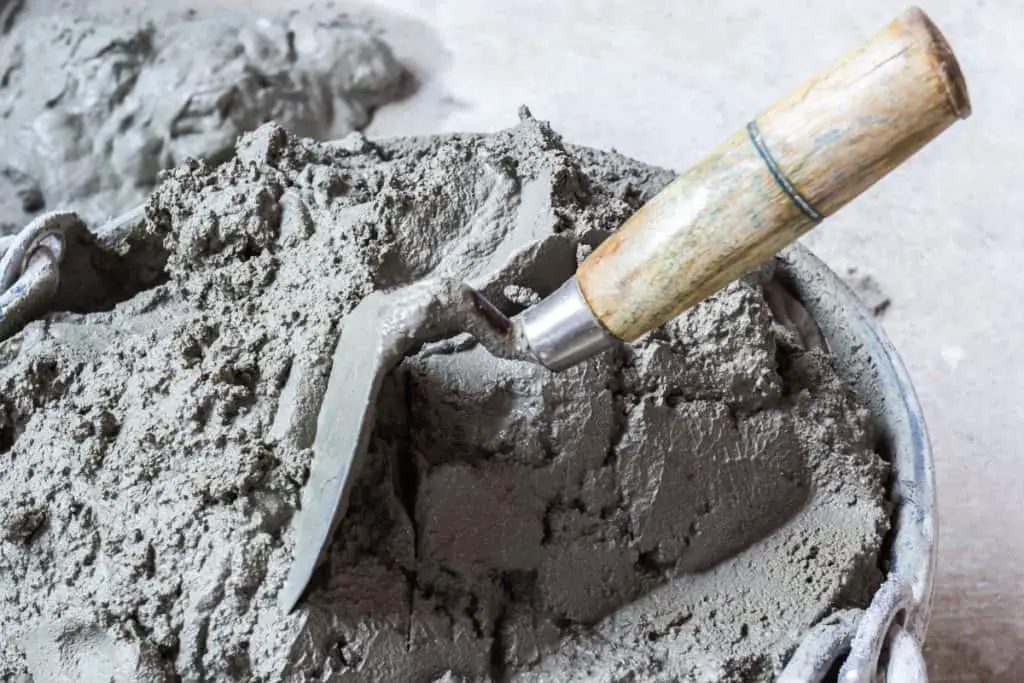
To further the DIY project you have done, you can make the cement yourself using different brands of concrete mix bags you can find at your local home improvement store. If you do make it on your own, be sure to follow the instructions on the bag it is in, however you should use a cement mixer to ensure all of the ingredients in the mixed are integrated correctly.
Your mixture should be smooth and consistent, so you might have to tamper with the mixture until you achieve the desired outcome. If it is too runny, try adding more of the dry ingredients to give it more thickness. If it is too dry, try to add more water to soften it
5. Pour And Cure Concrete
You, or the people you have hired, can pour the concrete mix into the grid system you had made during preparation and spread it out using a builders shovel or a hoe. To make sure you will have an even driveway, you will need to smooth out the fresh concrete before it begins to harden.
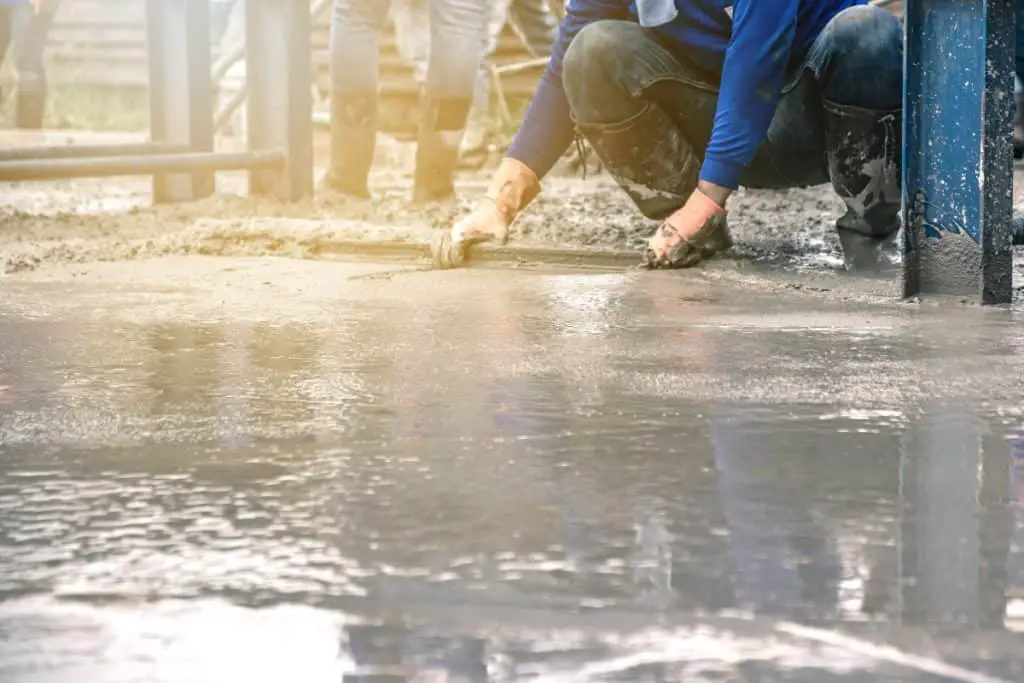
You will want to use a bull float or darby to make it flat in that specific area. Be sure to remove the 2×4 plywood grid after pouring and spreading the concrete to achieve a smooth uniform look in your driveway. This is called striking the concrete. If you prefer a rounded edge for your driveway, you can always get an edging tool to run along the sides of your freshly poured cement for a professional look.
Now, you will need to wait seven days after finishing your job to allow the concrete to set fully so it can achieve its potential strength to hold your car. This might feel like a long time, but it will be worth it.
6. Try It Out
To make sure it is a viable driveway, you will need to drive on the newly made concrete driveway. As you are testing it out, look for cracks in the pavement that show signs of instability. If all was done correctly, it should be fine and ready to be used for a long time.
Installing your own concrete driveway can seem like a task that could put you in over your head and make you have second thoughts about what you just got yourself into. Rest assured, this project is for the experienced and the novices alike. Although it will require thoughtful planning and execution, anyone can DIY their own driveway with the right tools, knowledge, and skills.