Did you know that you can drill into concrete? Well, you can! And it isn’t even particularly difficult. Here’s how to do it so that your walls still look great after you’re finished.
Table of Contents
1) Gather Your Materials
You’ll need a few particular tools for this project, along with general safety materials.
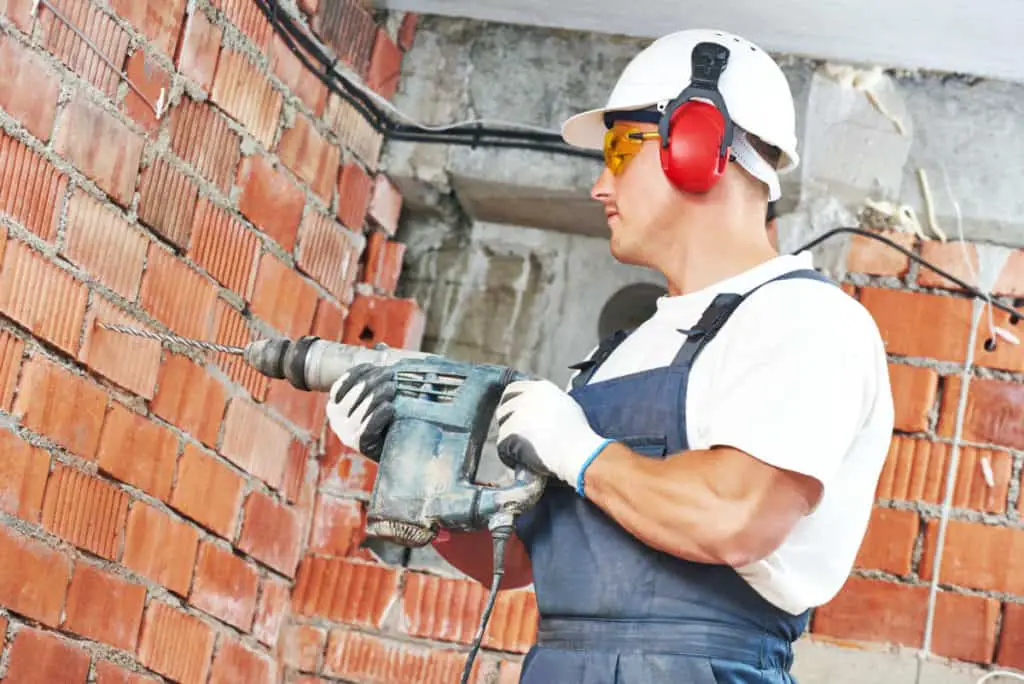
A hammer drill: Unfortunately, and ordinary power drill won’t be able to push through concrete on its own without risking serious damage. A hammer drill is a special kind of drill designed specifically to drill into stone or concrete.
Don’t skimp here! You need to have a hammer drill, and it needs to be good enough to do the job. Concrete is tough stuff, and it’s easy to damage your tools if they aren’t the right kind.
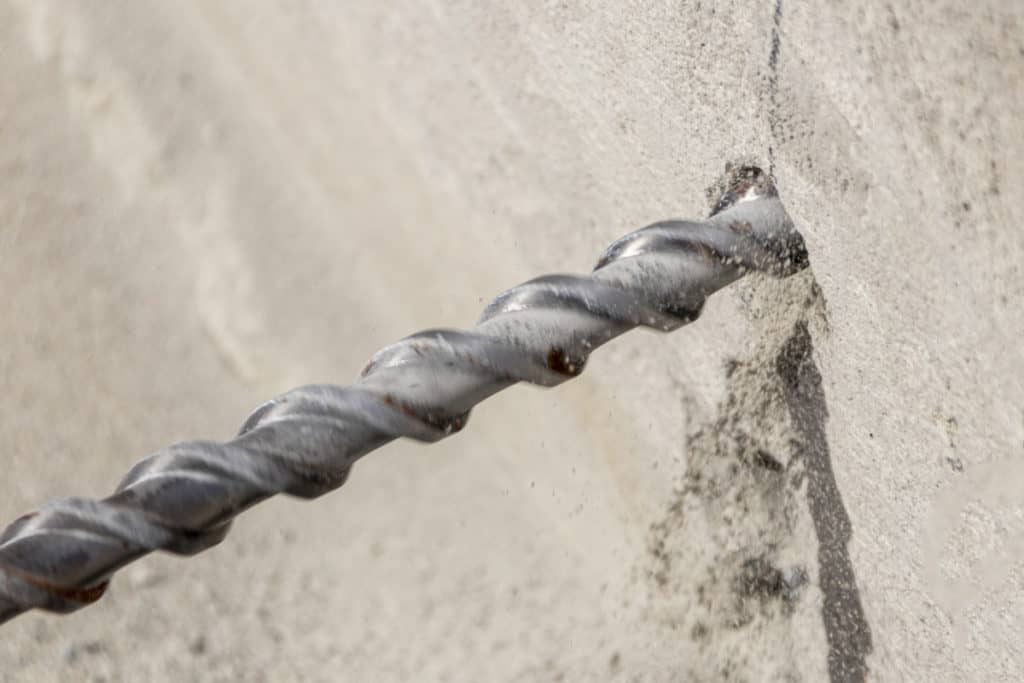
Masonry bits: Masonry bits are used specifically for drilling into concrete and other kinds of masonry. you can tell them apart from other kinds of drill bits because of their wide, gently sloped tips.
Trying to use ordinary drill bits on masonry is asking for trouble. They will break, the question is not if but when.
Related article: Are Titanium Drill Bits Good for Concrete?
Fortunately, masonry bits aren’t terribly expensive, and you should be able to find them easily enough at your local hardware store.
Masking tape and a pencil: You only get one shot to put the hole in the right spot. marking it before you start is a good way to make sure you don’t embarrass yourself.
A can of compressed air: This will be helpful for cleaning the dust out of your hole.
A vacuum cleaner: Dust is going to get everywhere. You want to be able to clean it up.
A masonry dust mask: Concrete dust is dangerous to breath in, so you want something between your nose and the air to keep you safe.
Safety glasses: Concrete is also bad for your eyes. These will go a long way towards keeping them safe.
Ear protection: The drilling process is extremely loud, and if you don’t use some kind of hearing protection you will probably sustain damage to your hearing.
A Masonry Nail: These can be very useful if you run into a piece of stone that the drill is having trouble with. It’s worth it to have at least one of them on hand just in case.
2) Mark The Spot You Want To Drill
Taking your masking tape or your pencil, find the spot that you want to drill into and then mark it. Concrete doesn’t have any studs in it, so you’re not at risk of damaging anything. You’re free to drill anywhere you want!
Once you’ve marked the wall, you should also figure out how deep of a hole you want to make. You can either mark this on your drill bit with a stop bar, or if you don’t have one you can wrap a bit of masking tape around it.
Either way, if you don’t mark it you’ll probably end up going farther than you really want to.
At this point you’ll also want to have decided how wide you want the hole to be and chosen the appropriate masonry bit.
3) Make A Guide Hole
Using one of the lower settings on your hammer drill, make a small shallow hole in the wall. This will help keep you on track as you start drilling.
This is the part where you’re most likely to run into obstruction. If you do, skip to step 5 and then come back when that’s finished.
4) Start Drilling
This is actually the easiest part! Just drill until you reach the point you marked on the drill bit. Don’t feel pressured to go quickly, in fact it’s better to take your time and maintain control. If you don’t, you’ll end up with hole that isn’t the shape that you want it to be.
Also read: Why Is Old Concrete Harder To Drill?
5) If Somtething Stops Your Drill, Use The Masonry Nail
If your drill suddenly stops progressing, that usually means that you’ve hit a small stone or something else that’s harder than concrete. If this happens, you need to stop drilling. If you don’t, you may end up damaging the drill or the drill bit.
Instead, take the masonry nail that you as part of step 1 and a hammer. Insert the nail into the hole, then tap it firmly with the hammer until you’ve gone all the way through it. At this point, whatever was in the way has been dislodged or broken and you can go back to using the drill.
Just like with the drill, you can take this slow and steady if it suits you.
6) Clean Out The Hole
Once you’ve reached the point you marked on your drill, use the compressed air to blow all of the dust out of the hole. whatever you’re using the hole for, you probably don’t want it to be dusty!
That being said, don’t worry too much about being 100% thorough. It isn’t a huge deal if you still have a little bit of dust left in the hole. Just don’t try to use your mouth to blow the dust out. That won’t turn out the way that you want it to, trust me.
7) Clean Up The Dust Around You
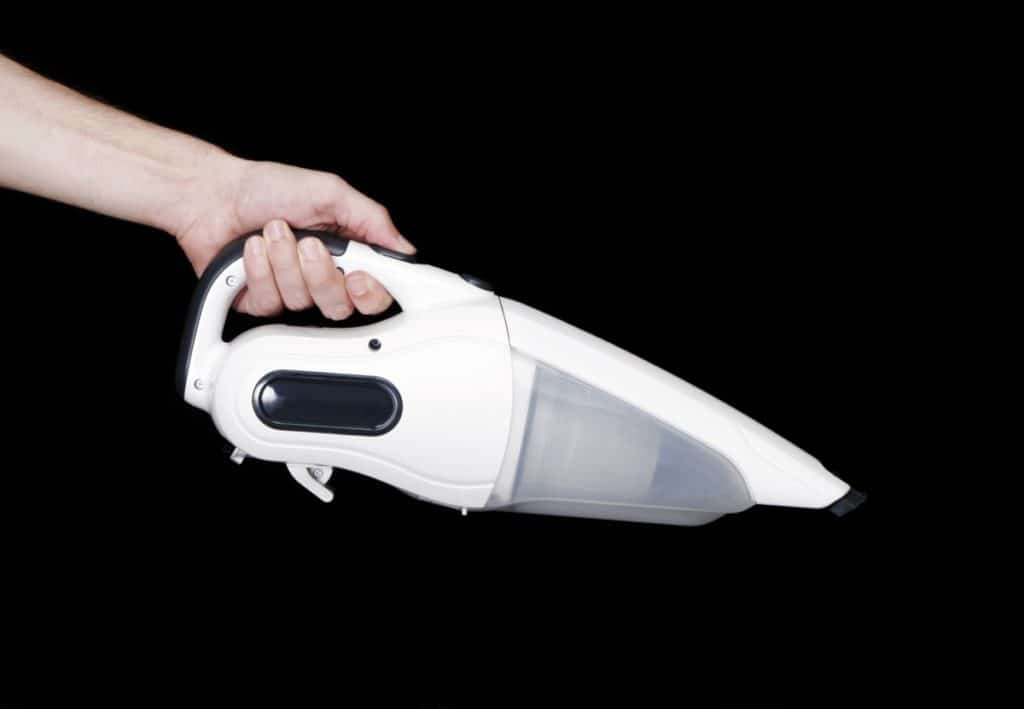
There will for sure be dust all over the ground around the space where you drilled. It may also be on your clothes or your hands. Clean it all off the best that you can. Concrete dust is pretty heavy, but if you don’t clean it up it can still end up in the air where you could accidentally breathe it in.
Fortunately, you can clean it up with a vacuum cleaner easily enough.
8) Put Away Your Tools
Now that you’ve finished the job, put everything back in the place where it belongs. Or, if you want to drill more holes, start back at step one and keep going until you’ve drilled all the holes you could possibly want to.
Hopefully, by now you feel good about drilling into concrete! I bet that you’ve done a great job, and you should definitely be happy about how your hole turned out.