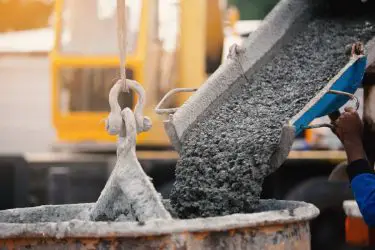
If you’re doing a concrete-based project, you will need to mix concrete at some point. If you’ve rented a mixing machine or ordered ready-mixed concrete, this will be easy. If you’re hardcore enough to mix it by hand, here’s what you need to do:
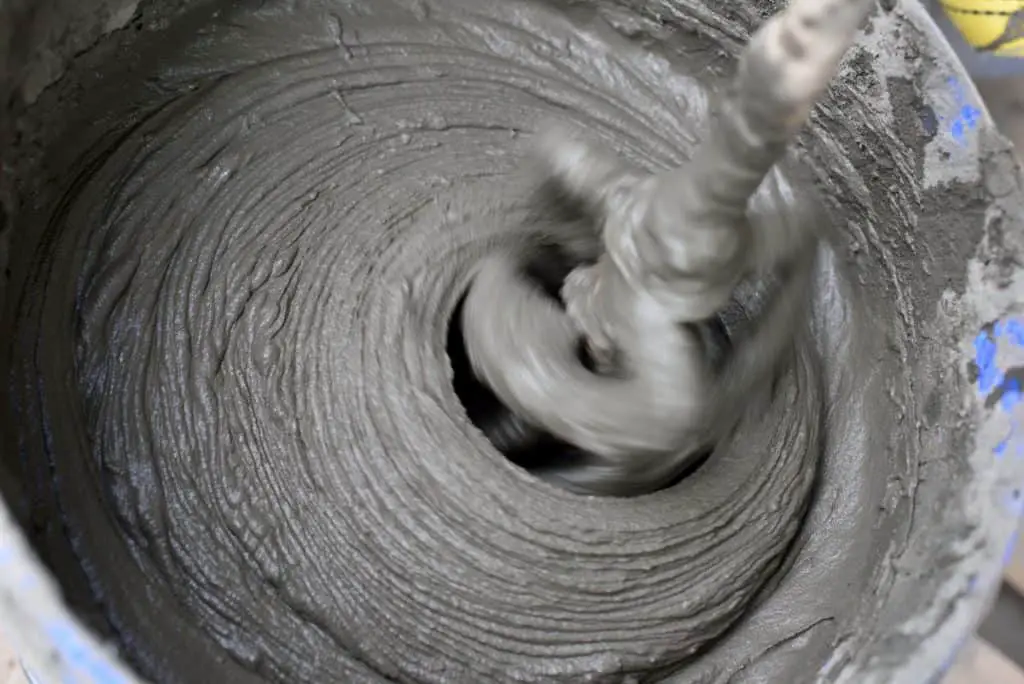
Table of Contents
1. Gather a Container, a Shovel & Safety Gear
For small scale household project, you won’t need a lot of concrete at all. It’s still a good idea to confirm the amount you’ll need though, as it’s often much more than you’d expect.
There are a few tools that are absolutely necessary:
Safety Gear
Concrete is full of cement, which is made out of caustic lime. This makes concrete a fairly dangerous substance to work with.
If it makes contact with your exposed skin, you can end up with painful chemical burns. If it gets in your eyes or mouth, you can end up in even more trouble.
Read more: Can Concrete Poisoning Kill You?
You’ll need protective goggles, a mask, and thick rubber gloves for your hands. You’ll also want to have your body covered as much as possible, even if it’s hot outside.
Container (Like a wheelbarrow or a bucket)
For most projects, the best container is usually a wheelbarrow. Because of the wheelbarrow’s mobility, it can make moving the heavy concrete mix where it needs to go much easier.
In a pinch, however, a big bucket can also work fine.
You’ll also want some kind of a bucket to hold or measure water with.
Mixing Tool (A shovel is usually great)
There are many reasons why you should not mix the concrete with your hands, not least of which is that most households have at least one tool that will be able to do the job more efficiently.
The optimal tool is a square-tipped shovel, as its wide footprint allows you to move a fair amount of concrete at a time. However, any shovel will do fine.
If you can’t find anything else, you can even use a long-handled garden hoe or another similar tool.
2. Put The Bag In Your Container
You’re not quite ready to cut the bag open yet. Instead, you’ll first be placing the bag of concrete mix into the container.
This will minimize the amount of concrete dust that ends up in the air. As for reasons that have already been mentioned, it is a decidedly bad thing to have lots of concrete particles floating around in the air.
3. Cut The Concrete Bag Open
Now is the time to open the bag. Most bags of concrete will have a line on them suggesting the right place to cut. When the bag is open, carefully remove it from the container making sure all the bagged mix is being emptied of the bag and into your mixing container.
4. Add Water Gradually
The bag will probably proscribe a certain amount of water to be added into the mix. Measure that amount out in a bucket or bucket equivalent, and then bring it to your container. Pour it in gradually while mixing.
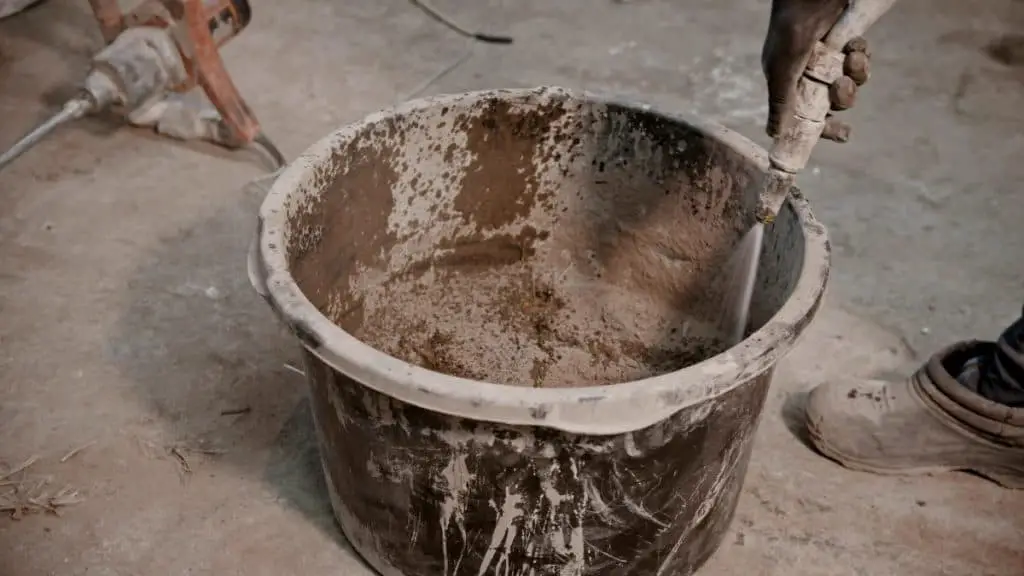
5. Just Mix It
This is the easiest step! There isn’t much need to think about what you’re doing here. Just mix the concrete until it seems mostly smooth while paying attention to its consistency. This is the only time you have to judge whether you have too much or too little water.
6. Get The Ratio Right
This is easily the most critical step. If you have too much water in your concrete it will be far weaker than concrete with the appropriate water content. If there isn’t enough water, it won’t mix properly and it will be extremely difficult to spread.
You’ll tell if you have too much water if the concrete starts to look and feel soupy. If this happens, the only way to fix it is to add in more concrete mix to absorb the extra water. For this reason, it’s always best to be a little conservative with your estimates.
If your concrete is too dry, it will form crumbs and not bind together well enough. It will also hold its shape too easily, which can make it difficult to work with later.
One way to tell that your concrete has the right ratio is to take a cup and get a scoop of your concrete mix. Place it upside down on the surface of your concrete and remove it, like you’re making a sandcastle.
If the resulting mound sinks to about half the height of the cup, you’re good to go! If it holds the shape of the cup, you need more water. If it melts completely, you’ve added in too much water.
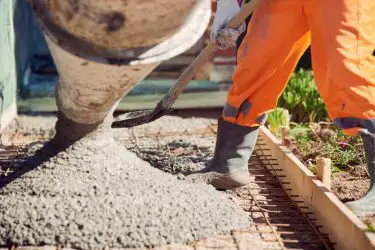
7. Pour Your Concrete
This is what you’ve been waiting to do. Be sure to pour all of it out of your container. You don’t want to have any of it leftover in your container, since it’s always better to accidentally add too much concrete to your form than to not add enough.
8. Clean Your Tools
Clothing and tools used in the concrete-making process need to be cleaned to the best of your ability after you’ve used them for mixing concrete.
Concrete has a nasty habit of sticking to things if it isn’t cleaned off early enough. This can permanently ruin your equipment, so you’ll want to clean it all off fairly thoroughly.
This can be done using a garden hose and an iron will. Remember that you don’t want to touch any of the concrete with your bare hands while it’s wet, so keep your gloves on if you feel the need to wipe the tools down.
With your tools all clean, you’re ready to continue to the more exciting parts of concrete production!