Polishing concrete is very similar to grinding metal or sanding wood. It is a process of continuously buffering over an uneven surface to make it more smooth. It leads to a smoother surface and offers a variety of looks for the concrete. There are a variety of steps needed to accomplish this.
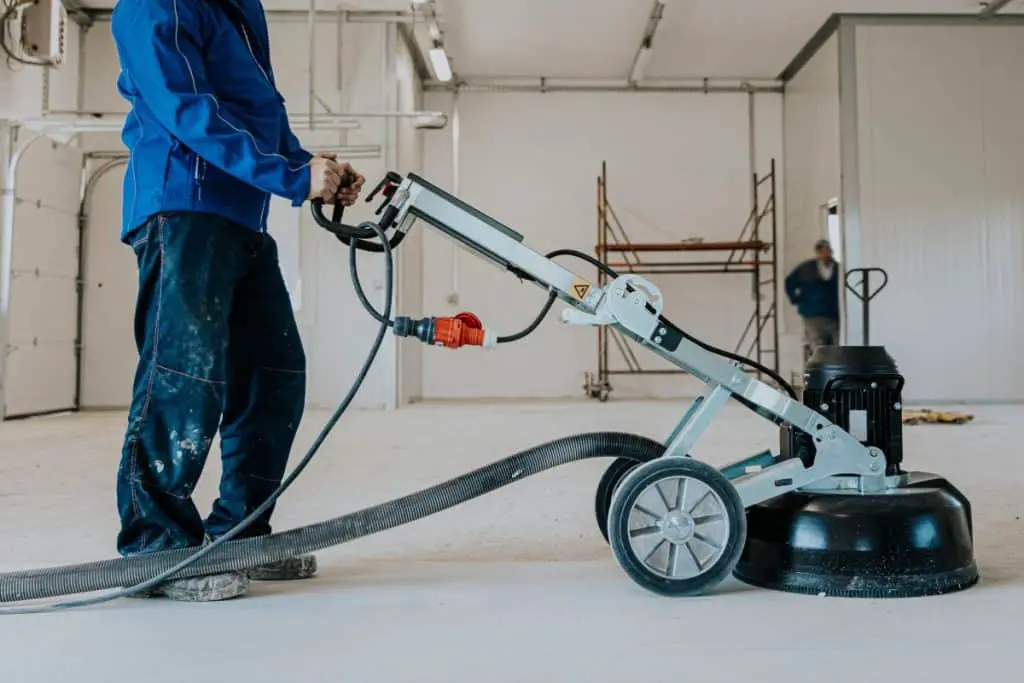
Table of Contents
1. Choosing A Method
There are two ways that you can polish concrete; wet or dry. Most popular these days is the dry method because it is easier, but both are valid options.
The Dry Method is faster, more environmentally friendly, and more convenient. It is preferred by polishing contractors, requires no water, and has a vacuum that sucks up all the mess. As a matter of fact, it extracts 99 percent of dust as you work, making for safe air quality and work environment.
The Wet Method uses water to cool down abrasives to prolong their life. It reduces friction and acts as a lubricant. The main problem with this method is that it can be really hard to clean up, and it creates a slurry that is hard to be disposed of in an environmentally friendly way. Another disadvantage is that you can’t see the surface as you work.
Older times called for different ways of doing things, and while in the past the wet method has chiefly been used, today we will discuss a mixture of the two methods. More often, a method of switching is used. Contractors start out polishing dry, and then, once they have ground off so much concrete, they switch to a resin bond abrasive and are able to make the polish look more sheen.
2. Decide On The Finish
Depending on how deep you polish, a variety of outcomes are available. Each will be a smooth concrete finish but will show different layers of the concrete.
- Uniform Finish – From the original cast, concrete has uniform color and texture. Often time, if your concrete was cast it is already very smooth. This type shows the thin layer of concrete paste that generally sits at the edges of the mold. This is the state of your concrete before polishing.
- Light Polish – If you only lightly grind the surface of the concrete, that thin layer of cement is taken away, revealing the fine sand aggregate. This will make your concrete a little lighter and will require minimal polishing.
- Ground Finish – The more you grind, the deeper you will get into the concrete, then revealing the larger pieces of aggregate. This makes for a smooth surface, but you can see the individual pebbles.
3. Identify The Condition
What grinding method you use for your concrete will first need to be chosen after you test the hardness of your concrete. In order to do this, you can conduct a MOHS Test.
When doing a MOHS Test you use special kinds of pencils to scratch the concrete surface. The pencils are numbered and whatever pencil leaves a significant mark determines the hardness of your concrete.
Thanks to this simple test you are then able to decide what abrasives (a material or mineral used to finish a workpiece through rubbing) to use for the polishing of your concrete. Now you will know the hardness of your concrete!
Along with that, look for high and low spots in your concrete or any spalling at joints. Major problems will definitely need to be restored before you begin polishing and sealing the concrete.
4. Prepare Concrete, Remove Old Stain
Just as you would before painting a concrete floor, be sure to clean off the surface first. It is also important to prepare the floor by clearing it of any stain or tool marks. Polishing these could make them worse or they could go away, you just never really know.
Repair surface cracks with caulk and fill in any other holes or trouble spots. Remove any sealers through a variety of home methods or by acid etching. Acid Etching is a great way to rid of the old sealer. All that is needed is for you to spray the concrete with diluted muriatic acid and scrub it around for a while. Finally, rinse the acid off and allow it to dry completely before the next step.
5. Polish The Concrete
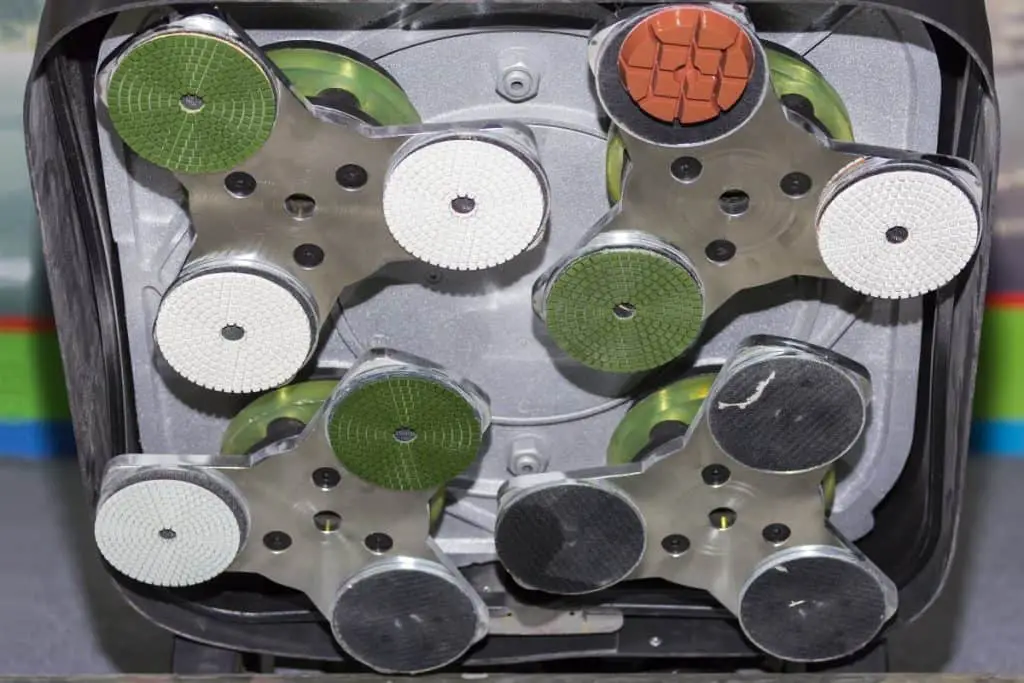
The trick with polishing is that you do it over and over again with a different level of the gritted abrasive. Depending upon the finish you choose at the beginning, you can decide with which grit to start with. If you want a ground finish, starting with a 60 grit pad would help to get your grinding down to the rock as quickly as possible. While if you wanted a lighter finish, it is better to start with a 300 grit pad.
The process is sometimes known as lapping, where you start out with a certain grit abrasive and then repeat it with ever-finer grit each time until it gives off the right look and sheen. Use progressive grits, and don’t skip any certain grit because each of them builds off of one another until the scratches of each grit clean up the scratches of the other. As a rule of thumb, the next grit will be double the last one, or close to double. For example, the grinding sequence can go as follows.
- Grind with a 30-40 metal bonded grit.
- Grind with an 80 metal bonded grit.
- Grind with a 150 metal bonded grit.
- Apply a chemical harder.
- Polish with a 100- 200 resin bond grit.
- Polish with a 400 resin bond grit.
- Polish with an 800 resin bond grit.
- Polish with a 1500 resin bond grit.
Throughout the process, if you see that the concrete is at your desired sheen you can stop, or continue. Not all of those steps are needed, but only until you reach the desired gloss look.
Polishing leaves copious amounts of dust and dirt, that can be incredibly dangerous if not taken into account and prepared for. Be sure as you polish to take the dust into account and take the necessary safety precautions.
6. Harden The Concrete
After the first one or two rounds of grinding the concrete, you can pour on a chemical that hardens the concrete. This chemical, called a densifier is typically only used once in the polishing process. “Chemical hardeners are sold under different trade names, but are usually made of sodium-, potassium-, or lithium-based silicates.” Source
“The chemistry of how densifiers work is complex, but in general terms, silicates react with the leftover calcium hydroxide in the concrete, which is a byproduct of the hydration process. This addition of silicate to the pore structure and capillaries of the concrete produces a harder, more impermeable substrate and a surface that is much less prone to dusting.” Source
Another reason densifiers are used is because of their protection. They help to prevent water and other stains, and the harder the concrete is, the greater the polishing job will turn out.
7. Seal And Protect The Concrete
After you have got the concrete polished, sealing your concrete floor will help to protect it from scratches and stains. The chemical you use to make your concrete harder also helps to do this, but sealing also would be a good choice. There are a variety of different types of sealants, and choosing the correct one will depend upon the circumstances and location of your concrete.
Read more: 11 Best Concrete Sealers (and a few mistakes to avoid)
There are epoxy, acrylic, penetrating, and polyethylene sealers. Epoxy, acrylic, and polyethylene, while very similar, seal the top of your concrete to prevent stains and water from entering in. They create a thin layer on top of your concrete. On the other hand, penetrating sealers sink into your concrete and protect individual pores of the concrete from being exposed to stains and water.
Use a pump sprayer, or a roller, and be sure to apply the sealant equally across the whole floor. Apply two coats and allow time in between for each of the coats to dry.
Other Helpful Tips
While these steps offer a glimpse into the task of polishing your own concrete, you will also have to consider the tools, different techniques, and benefits of hiring a professional. Here are some additional tips that may be helpful as you move throughout the process.
- Wear protective gear! The dust made from grinding the cement is caustic, or able to burn or corrode tissue. Rubber gloves, boots, and a particle mask are great options.
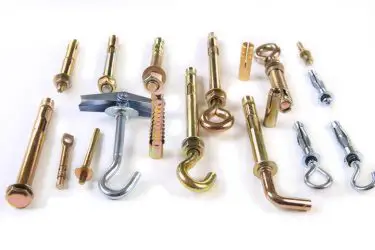
- Obviously, you will need a grinder of some kind, a set of abrasives, something to collect the dust with, a chemical hardener, and a sealer. Gather these before you begin, some of them require renting and you need to know the amount of time and product material you will need.
- Depending upon your floor, you will have to maintain it occasionally. This may require you to do additional polishing maintenance in the future.
Also read: 7 Common Reasons Why Polished Concrete Floors Crack