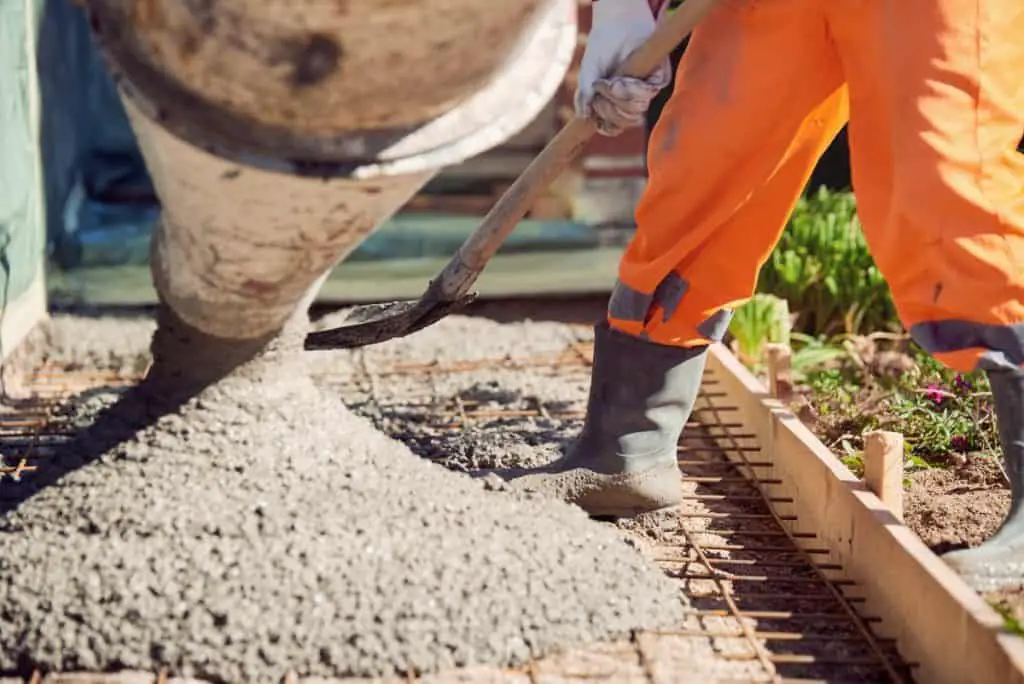
If you want your concrete to look good, you’ll need to build a good form for concrete work first. If your form is well constructed, then your concrete is much more likely to turn out well. If it’s flawed, the chances for things to go wrong increase tenfold.
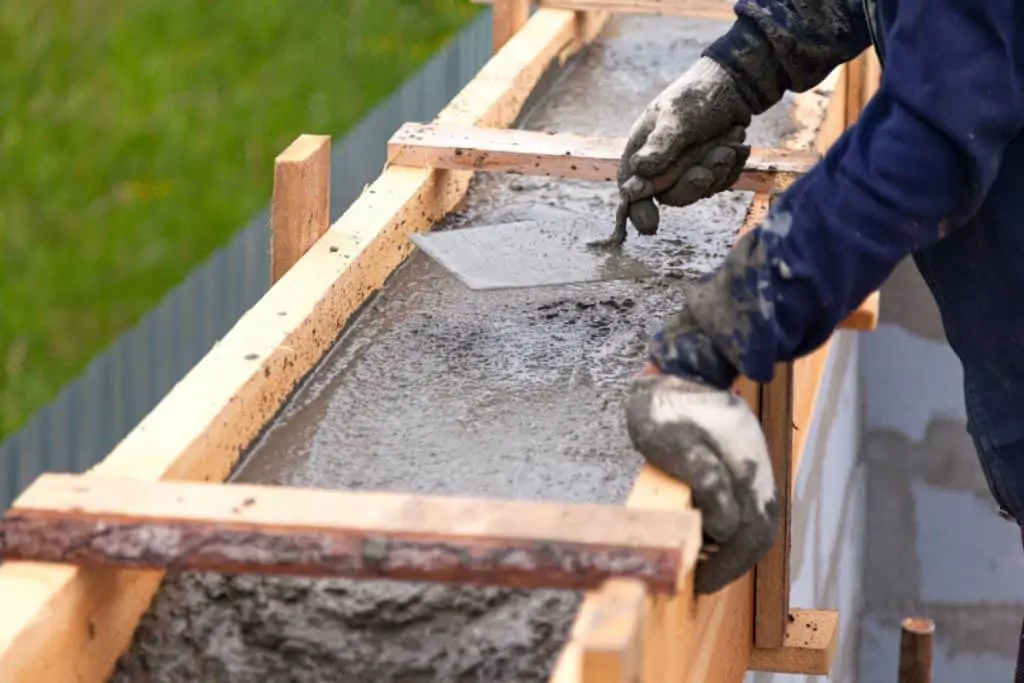
Table of Contents
1. Choose The Proper Depth
Before you’ve even started building your form, you’ll need to decide how deep your pour is going to be. This will determine the width of the boards you’ll use to build your form.
In some situations, such as building a paved road on your property, there will be government regulations telling you how deep your concrete needs to be.
For more private projects, you may need too determine this for yourself.
For most load-bearing slabs, 6 inches will be more than enough. For simpler projects like small sheds or patios, you may only need 4 inches of concrete.
Remember that you’ll be adding in three to five inches of a granular fill like sand or gravel underneath your concrete slab. When planning the depth of your form, you’ll need to take this into account when preparing the form, possibly by digging a few inches of your form into the ground.
2. Prepare The Slope
All concrete projects need to have at least a slight slope on their surface to prevent water from forming puddles right in the middle of the slab.
You’ll also need to make sure that your slope doesn’t face towards any structures, as allowing it to do so can cause water to pool up next to them, as this can end up causing serious and lasting damage.
The amount of slope you need for your slab will depend on the amount of precipitation in your area. In very wet parts of the world, you’ll need a slope of at least 3/8 of an inch per foot. In dryer climates, you may only need 1/8 inch per foot. In most temperate places, you’ll only need 1/4 inch per foot of the slope.
Whether you plan to stamp a pattern on the concrete can also affect the slope you need to use. Even in dry places, you’ll want stamped concrete to slope at least a quarter-inch per foot, since water will pool up in any indentations and could potentially cause damage.
3. Set Your Form Square
Now it’s time to start laying your form. Most of the time, you’ll want to make sure your form is square. If you have the space to do so, this can be done by simply using a protractor to measure the first corner you make, and then using a string to reach from that corner to the other one. If doing this makes a right triangle, then your form is square.
Sometimes this won’t work. If there’s a lot of stuff in the way or your form is very large, you can do the same thing using the Pythagorean theorem.
Before you panic, let me tell you that the only numbers you’ll need are 3, 4, and 5. All you have to do is measure out three feet in one direction from the corner, 4 feet from the next, and then measure the distance between those two spots.
If you’ve measured right and your corner is square, the resulting distance will always be exactly 5 feet.
If you need to, you can up the scale of this method pretty easily. You can use 6, 8, and 10 feet, 9, 12, and 15 feet, or 12, 16, and 20 feet, and the formula will still work in the same way.
You’ll only need to check two opposing corners this way to know that all of your corners are square since two right identical triangles meeting at the hypotenuse will always produce either a square or a rectangle.
4. Insert The Stakes
You’ll need stakes to keep your form from being pushed out of shape by the concrete. You’ll need to insert the stakes into the ground along the face of the boards.
The stakes need to be placed far enough into the ground that they’re flush with the top of the form. If this is impossible, then you’ll need to put them as far into the ground as you can, and then saw off the tops of the stakes so that they’re level.
This will make working with the concrete a lot easier once it’s poured.
When the stakes are in the ground, you’ll need to nail them to the boards of the frame. This will keep the whole thing together throughout the curing process.
5. Add Kicker Stakes
Kicker stakes are important since they apply pressure on the form pushing inwards. This braces the form against the outward force of the concrete.
Kicker stakes are stakes that are placed at a 45-degree angle from the top of the form into the ground.
To make it easier to work with the concrete, you’ll want to attach them to the vertical stakes you’ve already placed since placing them in the middle of the frame will make them difficult to maneuver around.
Just like the other stakes, you’ll want to make these flush with the top of the board.
6. Place Underpinning
Sometimes, your form will be tall enough that the board your using doesn’t reach the ground. In this situation, you’ll need to add another set of boards underneath those to prevent concrete from leaking out of the bottom. This is called underpinning.
Underpinning can be nailed to the stakes directly underneath the upper boards. Be careful to make sure that there aren’t any large gaps between the boards where concrete could potentially leak out.
Not all frames will need underpinning. Whether you use it or not will depend on things like the depth of your pour and the size of plank you build the form out of.
7. Prevent Concrete From Sticking To The Form
If the wood in your form isn’t properly treated while your concrete is drying, it might end up sticking once it’s dry. This can be very inconvenient, so you’ll want to make sure you never have this problem in the first place.
There are a few different ways that you can make sure that your form isn’t going to be stuck to.
You can varnish whatever side will be making contact with the concrete, you can spray the wood with oil using a hand-sprayer, you can even coat the wood with shortening.
For more detailed instructions, read our article “How to Keep Concrete from Sticking to Forms“.
8. Add And Level The Fill
At this point, you’ll want to pour in your three to five inches of gravel or sand fill, leveling off the top so that it’s ready to pour concrete on.
Once the fill is poured and tamped out, you’ll need to compact it as much as you can, leaving a one foot deep one-foot wide trench between the fill and the form.
This fill is very important, as it provides the concrete with material to rest on that isn’t soil. Just by having a layer of granular fill between the soil and the concrete, you can increase the longevity of your slab by quite a bit.
9. Install Rebar
Rebar is key to having a long-lasting slab of concrete, and so it’s very important that it’s placed into the form correctly.
Read more: When Do You Need to Add Rebar to Concrete for Extra Strength?
First, cover the fill with a 6mm plastic sheet. Then add in the rebar making a perimeter around the form. Remember to wire the rebar to the stakes to keep it from moving around too much.
Once you’ve finished with that, you’ll want to get working and preparing the rebar grid that should go all the way across the middle of the slab. This shouldn’t be too difficult as long as you make sure to tie each of the intersections together.
Unless you’re making a really big slab, this should actually be the last step for you! Now all you need to do is pour in the concrete!
10. Partition The Slab
This step is only really necessary if your slab is very big and you plan to fill up the form one half at a time. This could be needed if it’s hot outside and the concrete will dry quickly after you’ve laid it. This can make a difficult pour a lot more manageable.
First, you’ll lay a 2×4 all the way across the form, right in the middle. Then nail it to stakes that have driven into the fill. Treat this 2×4 the same way you’ve treated the rest of the form, making sure that it goes all the way to the ground and doesn’t have any gaps.
This will prevent concrete from leaking across from one side of the form to the other and causing problems. Now is also the time to mark any doors that are likely to need consideration while pouring the slab.
You’re pretty much ready to pour your concrete slab! If you’ve carefully followed the steps above, your slab should come out exactly the way you want it to.
If this is your first project don’t worry too much about getting things perfect. Just do your best, and you’ll get it all down eventually.
