Concrete is a very useful substance for all sorts of construction projects, but most people don’t know how to make it themselves. You could always hire someone to mix your concrete for you, but that can be expensive and it might not sit well with your timetable. Here are the eight steps to making concrete, so that you can save money and do it yourself.
If you want to know how to mix your pre-bought concrete, skip to the last paragraph in step five.
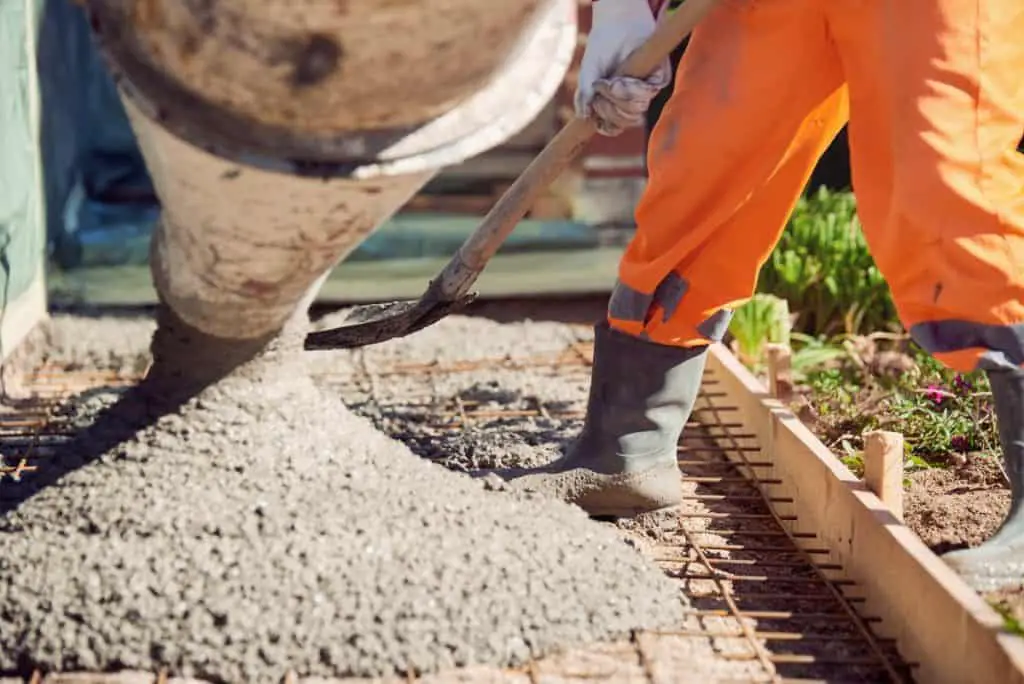
Table of Contents
Step 1: Smash Some Limestone
To make concrete, you’ll need four primary ingredients: cement, sand, water, and gravel. Cement, our first ingredient, is made from specially treated limestone.
If you aren’t interested in making your own cement, you can find it available for purchase at any hardware or home improvement store. If you choose to buy cement instead of making it yourself, you can skip to step four.
Determining What Is Limestone
Limestone is a white, gray, or tan sedimentary stone that can be found in many places around the world. It isn’t terribly hard, meaning that you can probably scratch it with just a quarter.
Once you’ve found some suitable looking rocks, you’ll want to test to make sure they’re limestone. The easiest way to do this is to pour vinegar on it and see what happens.
Limestone has a fairly high PH, meaning that it is a chemical base. You may remember from your high school chemistry class that bases tend to react to acids like vinegar, producing that infamous fizz that has been used to produce countless baking soda volcanoes.
This is exactly what should happen if the rocks you found are limestone, although the reaction may not be nearly so extreme.
The first step in treating the limestone you’ve found is smashing it into a bunch of tiny pieces. Be sure that each piece is at most 3 inches in diameter, as you will need to cook these pieces to an extremely high temperature before you can do anything else with them.
Step 2: Heat The Limestone In A Kiln
Yes, you will need a kiln for this. You’ll be heating those babies up to 2,700 degrees Fahrenheit (1,488 C), and while I don’t mean any disrespect towards your oven, that is a very high temperature.
You can measure the temperature of the kiln with a high-temperature kiln thermometer, and while you’re supervising the kiln, a respirator, goggles, and gloves will be a must, since it can be very dangerous to breathe in the dust and smoke the kiln will produce.
You’ll want to let your little rocks sit at this temperature for 3-4 hours before very carefully removing them.
Step 3: Cool and Crumble
During this part of the process, you need to make sure that you are wearing thick rubber gloves. The lime powder you end up with is highly caustic on its own, and just like other caustic substances such as bleach, lime can cause serious chemical burns where it makes contact with skin.
Don’t take off that respirator or the goggles from step 2 either, since lime is even worse for the eyes and mouth than it is for the skin.
Wait two hours after you’ve taken the limestone from the kiln to let it cool before you start touching it. You can use a fan to help it cool off if you’re in a hurry, but certainly don’t wait for less than an hour.
Remember, you just heated this stuff up to 2,700 degrees Fahrenheit. If you touch it while it’s hot, you can expect some major consequences.
Take your cooled chunks of lime and put them into a wheelbarrow. Remember to wear your gloves while moving the limestone into the wheelbarrow. Take it to the place where you’ll be mixing your concrete and crush the little stones into dust using a shovel.
If any of your pieces of lime aren’t crumbling the way that you want them to, just pop them back in the kiln to burn for a couple hours. That should allow them to crumble more easily.
Step 4: Mix Two Parts Sand Into One Part Cement
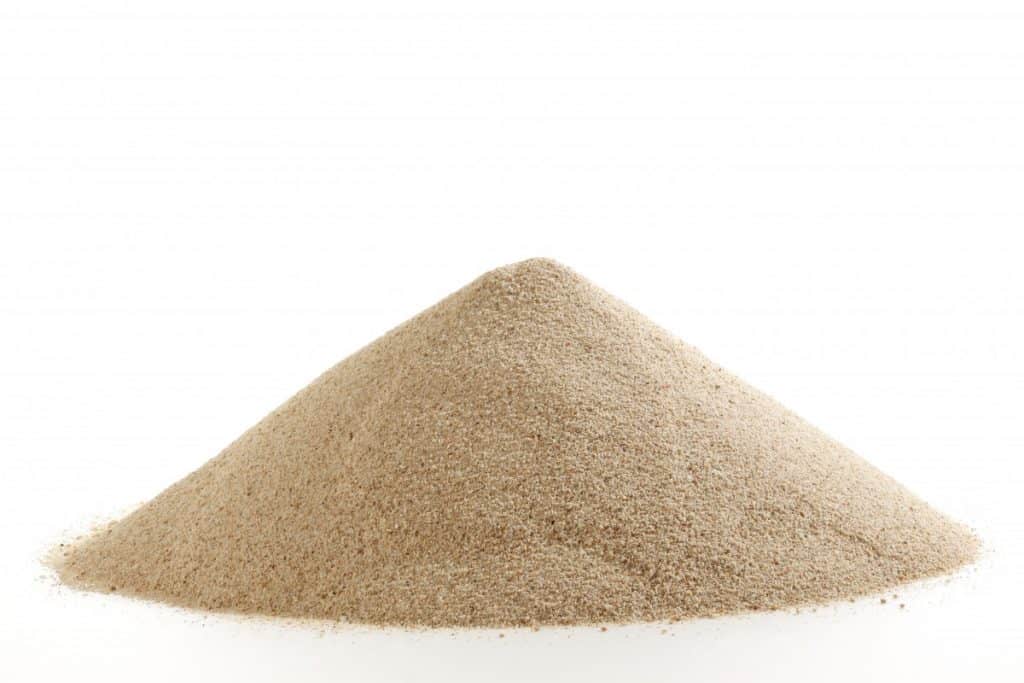
Alright, everyone who bought pre-made cement is back! Fortunately, any sand you can find will work just fine for making concrete. Of course, it shouldn’t be too hard to find sand at your local home improvement store.
You can find it near the ocean or in any river (although river sand is a lot better for making concrete than ocean sand is.) If you’re willing to put in the work, you can even separate out sand from ordinary dirt.
The sand you find in dirt is actually even better than river sand for making concrete out of, although it can take a lot of work to separate it out.
Separating Sand From Dirt
To separate sand from dirt, you’ll first want to run the entire mixture through a number 10 sieve. The largest size a particle can be and still be sand is 2mm, and a number 10 sieve will sort everything larger than 2mm out of your dirt.
Then you’ll put the mixture through a number 270 sieve, which will remove anything smaller than sand’s minimum size, 0.053mm. You’ll need to do this a lot to get enough sand for a project.
Mixing Sand And Cement
Now that everyone has their sand regardless of their source, we can mix it in with our cement. You’ll want 1 part cement and 2 parts sand. This means is that you want approximately double the amount of sand as you have cement.
If you’re making less than 80lbs of concrete, you can probably do this next part in the wheelbarrow. If you’re making more, you’ll need to acquire a cement mixer. If you’re renting one that can mix about 10 cubic feet from Home Depot, it’ll be about $88 per day.
You may also be able to purchase your own, but even small ones tend to run close to $200 so unless you plan to make a lot of cement renting is probably cheaper.
If you’re using your wheelbarrow, you’ll need to locate appropriate tools for mixing with. Your hands simply will not do. A long-handled rake, a hoe, or flat-ended shovel will work the best, although any kind of shovel will work in a pinch.
Whether you’re using a cement mixer or a wheelbarrow, this part is simple enough. You just need to pour the two-parts sand into the one part of cement and mix it all together.
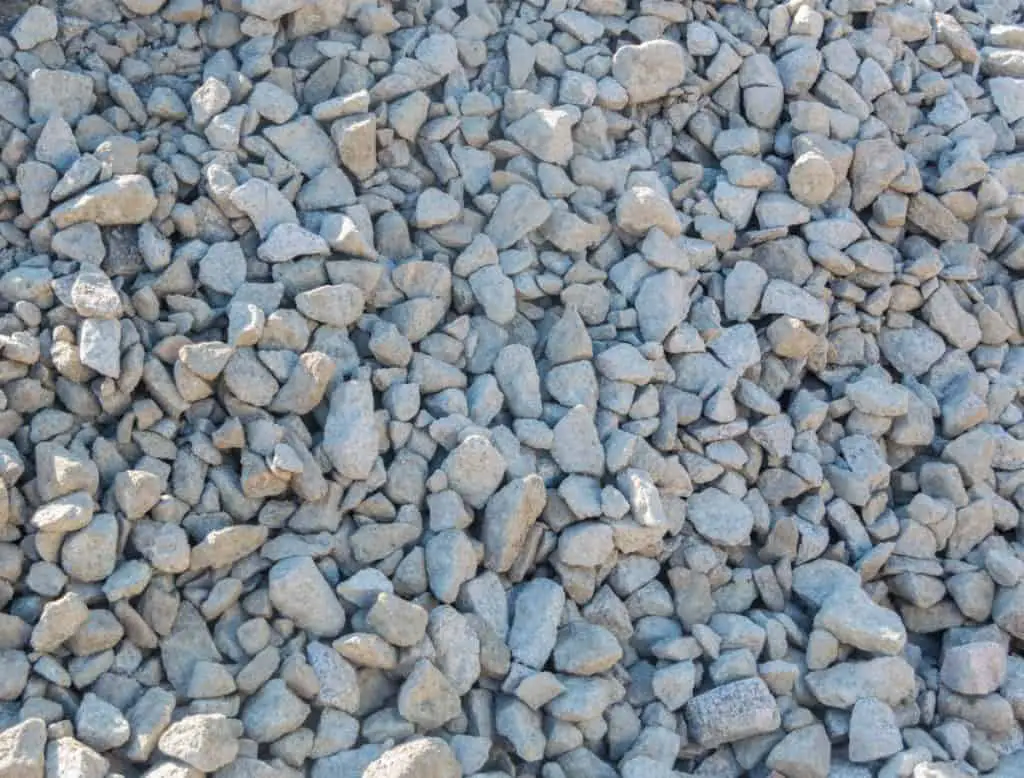
Step 5: Add Four Parts Gravel Or Crushed Brick
You’ll want four times the amount of this material as you have cement. Before you start sneaking around your neighborhood at night to steal gravel from your neighbors’ yards one scoop at a time, you should know that gravel can be bought at big box retail stores, but if you need a lot of it, it can be very expensive.
Depending on the amount of concrete you want to make, it may be cheaper to locate a locally operated quarry to purchase your gravel from. The gravel you can buy at local quarries is often very high quality, especially when it comes to mixing concrete.
If you’re only making less than 80lbs of concrete though, you might not need very much gravel at all. In that case, you can probably get away with buying it from whatever store you usually go to.
Add the gravel to your mix and then go at it with whatever implement you’re using to mix.
For People Who Bought Pre-Made Concrete
Hello, readers who bought their own concrete mix. If you’re making less than 80lbs of concrete, you all you need to do at this point all you need to do is put your bag of concrete into the wheelbarrow and cut it in half, removing the paper casing once you’ve done that. If you’re making more than 80lbs of concrete, you should locate a cement mixer to use. For help with that, take a quick look back at step four.
Step 6: Mix In Water Slowly
This is a crucial part of the process. If you don’t add enough water, your concrete will be impossible to work with. If you add too much, your concrete will be structurally weak. As you’re adding in water, be sure to check the consistency of your concrete frequently.
You can do this by taking a small cup, scooping up some concrete, and turning the cup upside down on top of the mixture. If there isn’t enough water, the scoop of concrete will be able to stand on its own, like a sandcastle.
You’ll be able to tell that you have enough water if the scoop settles at about half of the height of the cup. If your concrete is any less solid than that, you’ve messed up.
Remember to be extremely careful about adding water. It’s easy to add water to dry concrete, but almost impossible to take it out of concrete that’s too wet.
Step 7: Pour The Concrete
This is probably the part you’ve been planning the most time for. Hopefully you built your form before you even started making your concrete. For a lot of projects, you can pour your concrete right out of the wheelbarrow you mixed it in.
Even for projects using a mixer, as long as they aren’t too big, you can probably use your wheelbarrow to transport the concrete a long as you have the time and space to do it.
You’ll want to pour quickly since you need to get it how you want it before it starts drying too much. The drier concrete is, the more difficult it will be to work with. As you pour the concrete, you’ll want to be using a straight-edge (such as a long piece of wood) and trowels to flatten it out.
Depending on how you’re dressed and the size of the area you’re covering you may be able to stand on or in the concrete while you do this. Of course, if you plan to stand on wet concrete you should be wearing sturdy construction boots that you know won’t come off.
If you don’t need to stand on it, you should avoid doing so. The more you can do without stepping on it the better. The goal you have right now is to make the concrete smooth. When you’ve smoothed over the entire slab, you can step back and take care of it while it dries.
Cleaning Your Tools
As soon as you can, you need to clean the concrete off of the tools you used to mix/ smooth it. Concrete can be extremely difficult to remove if it’s allowed to dry, so time is really of the essence here.
You can scrape the concrete off with pretty much any garbage you don’t intend to keep, and you can remove any residue with water from your garden hose on it’s strongest setting.
You’ll also want to get it off of any clothing it might have gotten onto. If concrete gets stuck to your clothes they can become unwearable.
Step 8: Wait For The Concrete To Cure
Concrete can take quite some time to cure, but the curing process is incredibly important. While the concrete is curing, it will be settling into the shape it will take permenantly.
This requires some water to be in the concrete, but if no action is taken all of the water in the concrete will evaporate. You’ll have two options to keep your concrete wet. One option is to keep a layer of water on top of the concrete throughout the process. This water will seep down into the concrete, replacing the water that’s evaporating out.
An important side note: All this method entails is keeping a layer of water on top of the already poured concrete. Do not make any effort to mix the water into the concrete while it’s curing. Doing so will probably ruin the work that you’ve already done.
All you have to do is have a thin layer of water sitting on top of the surface. Doing anything more than that could hurt your slab. If you aren’t going to be around for the curing process, however, you may want to spray it with a sealant instead. This will prevent any water from evaporating out of the concrete, having a similar effect on keeping water on top of it.
You’ll probably want to put some chemical sealant on it at some point anyway, so for many people, this will be the superior option.
After your concrete has spent about a day drying it’ll be safe to walk on it. After about a week it’ll be ready for sustained pressure. If you’re using concrete as a foundation this is the time to start putting up walls.
Weather And Curing
Remember that the weather can have a big effect on the curing process. If the ambient temperature drops below 50 degrees Fahrenheit (10 C), the concrete will freeze.
During this time, it will not be cured, so if you’re waiting for your concrete to cure make sure to pay attention to when the temperature drops below that point and to not count any time spent there towards the total amount of time you’re waiting for.
High temperatures can also interfere with the drying process by making the water evaporate out of the concrete even faster than usual. In this situation, you want to give special care to keep a layer of water on top of the curing concrete until enough time has passed for it to be finished, or to quickly apply a sealant as soon as the concrete becomes dry.
A Finished Product
And there you have it. Your concrete is finished! For your first time making concrete, you should almost certainly be starting small. Especially if you’re starting from scratch, it can take quite a bit of experience to get the hang of each part.
However, once you’ve got the hang of it and know where to find all your components, the concrete you make today may last even longer than you do!