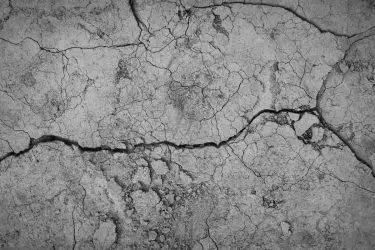
Broken concrete steps fail to accomplish their purpose. People can no longer safely use them, and they leave bits of concrete scattered everywhere. It is also a major eyesore to a piece of property. Repairing them can happen in one day and can be done yourself or by a professional.
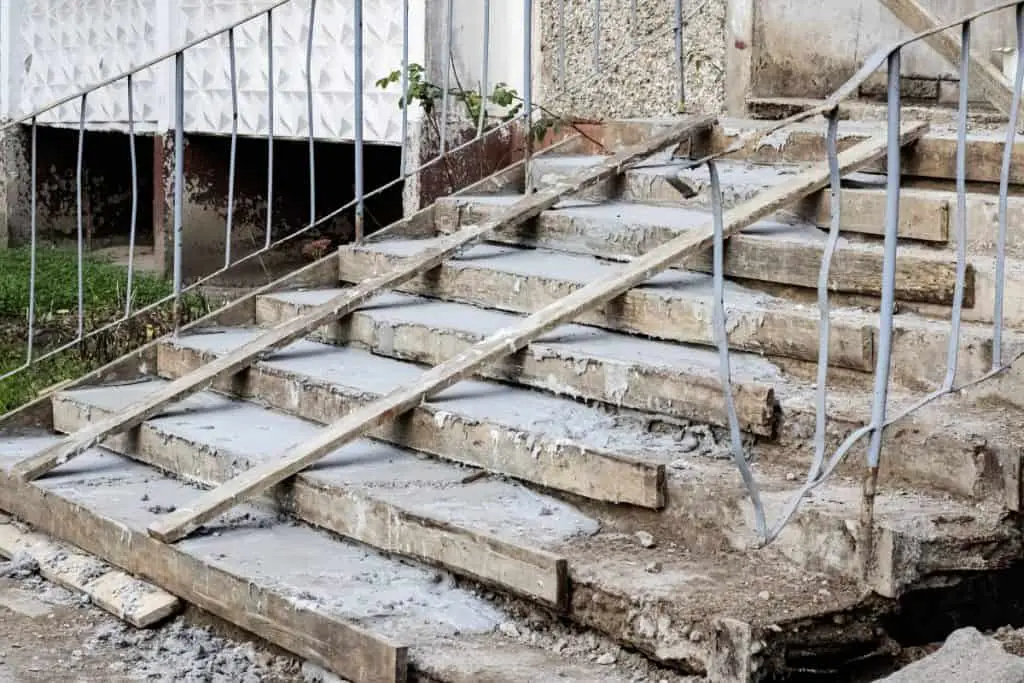
Table of Contents
1. Clear The Surface
No matter how you do it, cleaning the concrete is important. Whether that means pressure washing and then allowing it to dry or clearing off all the dust and debris with a tough brush, cleaning is critical for the future durability of the concrete.
It would also be very helpful at this point to undercut the edges of the cement. This will also give the new concrete mixture something to bond with, making it a stronger concrete. This can be done with a chisel and a hammer. All loose cement and debris should be gone when you complete this step.
2. Add Bonding Adhesive And Nails
Next, using a hammer drill, strategically place screws within the old concrete. Imagine the level of your new concrete step, and drill in the screws until their top is only 1/4 to 1/2 inches below your imaginary line of new concrete. This will allow the screws to connect your new concrete with the old pour.
When this is done, re-dust off concrete debris from the drilling and placement of screws. Make sure that your screws are not loose, but secure in the old concrete.
Apply a concrete bonding adhesive with a paintbrush to the surface of old concrete. Apply it liberally, it can be thin or thick, but the thicker it is, the greater the bond will be. It will need to dry for a few hours until it becomes tacky.
A common product on the market for this is the Quikrete Concrete Bonding Adhesive. This can be bought at Walmart, Lowe’s, Home Depot, or most local hardware stores. Often there are cement mixtures that already contain this adhesive, but either way, this will ensure the new concrete does not flake off the old concrete.
3. Creating A Form
Depending upon the size and edges of your step, this could either be difficult or easy. If you are only fixing a small portion, a simple plywood frame pushed up against the old step will create the right edge and do the trick.
Either way, make sure all the edges you want are made with forms and hold them secure with something heavy.
For small repairs being done with regular cement mix, they can be formed as the concrete dries. This allows you to form your own corner or edge while the concrete stiffens.
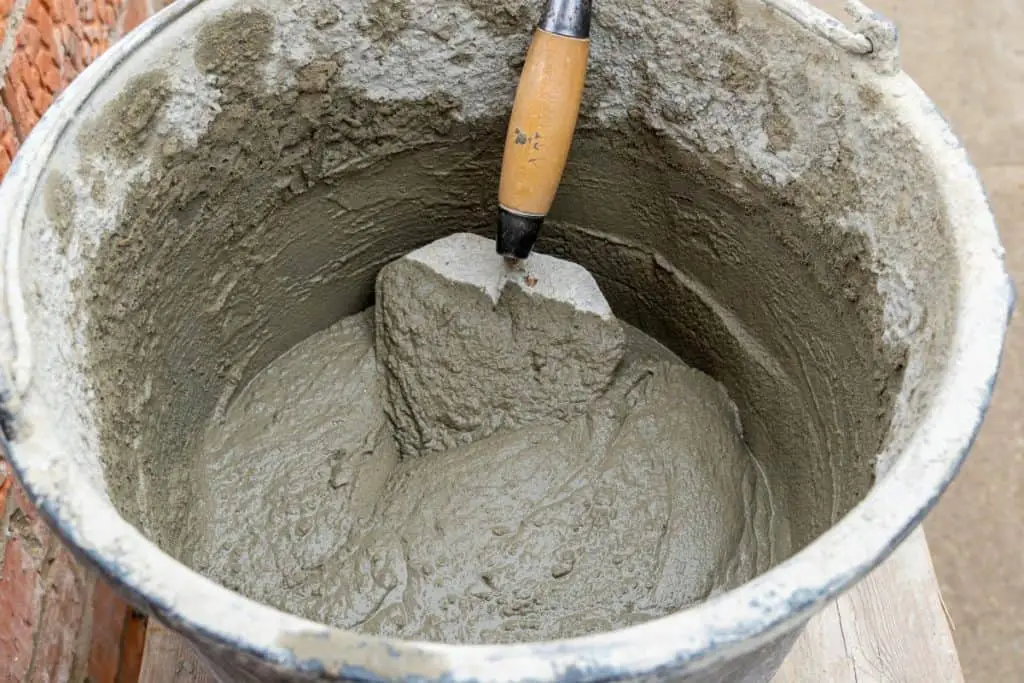
4. Mix The Cement
Calculate how much cement powder you need, add the water, and mix it until it blends to the right consistency. It should be similar to thick oatmeal, not soupy but not too stiff.
A variety of cement mixtures can be used, including quick setting cement, rapid-hardening cement, colored cement, or low-heat cement. Whichever you use, be sure to mix it to the right consistency and in the right amount of time.
5. Apply Cement To Step
Using a trowel, start filling in the crack or broken step with the concrete mixture. While applying, be sure to apply pressure to the wet cement to get it worked into all the cracks and edges of the old cement. Smooth out the top with a trowel.
6. Remove Form And Fill Holes
Take off the form while the concrete is still wet, being careful not to let the new concrete stick to the form. Often, there are places on the bottom of the step where the concrete did not reach, and holes are left. While still maintaining the straight edges and shape, add more concrete on the sides to fill in all holes or voids, gently pushing to ensure depth.
7. Smooth And Make Edges
Smooth both the top and side of the step and make sure it is level using a leveling tool. If this is quick setting concrete, the last 2 steps will need to be happening quickly to ensure it is the right smoothness as it dries.
Using an edging tool (similar to a trowel but with a rounded edge), you can round off the edges of the concrete.
8. Maintain Moisture – Watering And Plastic
While concrete is drying or curing, it must maintain moisture to prevent it from cracking and chipping in the future. Concrete that dries too fast becomes flaky and is not well bonded to the older concrete, creating a problem.
Right as you finish rounding the corners and shaping the concrete, you can continue to smooth it out using a wet sponge. This will also add water to the top and help it cure.
For the first 48 hours after your concrete has been installed, using a mister or something similar, keep the concrete wet. Applying more water as it dries. Normally, applying water 2 or 3 times a day will keep the concrete wet.
After this, another way to ensure the moisture content stays up is that you can lay plastic over the top of the steps, securing it at the edges to help it not dry out. Concrete is fully cured after 28 days, but people can start walking on it between 48 hours or 7 days, depending on the cure.
9. Apply Sealant
After the 28-day curing process is finished, apply a sealant to help it prolong the life of your steps. Steps are much more susceptible to cracking, corrosion, and crumbling. The best concrete sealer for concrete steps would be a silane/siloxane variety. You can also find sealants that are slip and UV resistant, helping to create the steps you need.
As we have talked about, repairing a concrete step requires the following: washing and adding screws to the pre-existing step, setting up a form, mixing the concrete mixture, using a binding adhesive, applying the concrete over the crack and chips, and smoothing and finishing the concrete.
For more information and tips, watch the video below demonstrating how to repair a concrete step.
If your concrete steps are too damaged to repair, you might have to completely remove them. If you want some guidance in that process you can read our article “How To Break Up Concrete Steps (4 Best Ways)“.