You’ve picked your spots and made sure that your fenceposts are homogenous, now you just need to set them in the ground. Concrete is a great option; Here’s how to make it work.

Table of Contents
Step 1: Dig A Deep Hole (⅓ of the Pole Length)
Fenceposts need holes to set in. That’s just the fact of it. These holes will need to be especially wide so that they can fit the proper amount of concrete.
For a 4×4 fence post, you’ll need the hole to be about 12 inches across. It will also need to be approximately 1/3 of the length of the plank deep.
If you have especially rocky soil, it may be dangerous to use a power tool to dig this hole. Instead, you may need to use a clamshell digger or a shovel.
Otherwise, it’s probably okay for you to use whatever tools you have on hand to make this hole.
Remember that you’ll have dug a lot of holes just like this one before this project is finished, so whatever method you use shouldn’t be too difficult for you.
How Much Concrete Do You Need?
This is a good time to figure out how much concrete you’ll need for each hole. You will do this simply by calculating the volume of the hole after the post has been inserted into it.
Or you could just read this article: How Many Bags of Concrete for a Fence Post?
First, you’ll need to get the volume of 1/3 the length of your post. This will be the easiest part.
We’ll assume that this post is 90 inches, meaning that 1/3 of its length will be 30 inches long. We’ll also assume that it’s 4×4. This will give us a volume of 480 inches cubed.
Next, you’ll need the volume of the hole. For this, we’ll be using the formula to find the volume of a cylinder, so hopefully, the hole you dug is a perfect cylinder.
The volume will be equal to Pi times the radius of the cylinder squared multiplied by the height of the cylinder.
The formula looks like this: V=pi*r^2*h
For our hole, the calculation will look like this: V=pi*6^2*30. pi*6^2 is 113 cubic inches, which we will multiply by a further 30 to get 3,392 cubic inches. We’ll subtract the volume of the post to end up with 2,912 cubic inches.
Now we’ll need to simplify this number into cubic feet so that we can figure out how much concrete we need. There are 1,728 cubic inches in each cubic foot, so to get the number of cubic feet, we’ll need to divide the number we got out of the formula by 1,728.
For our calculation, we end up with about 1.7 cubic feet of space that we need to fill for each hole. Now it’s time to figure out how much concrete that is.
For each cubic foot of space, you’ll need 150lbs of concrete. That means that for 1.7 square feet, you’ll need 255lbs of concrete. If you buy Quikrete in 50lb bags, you’ll need a little more than five bags of concrete to fill the hole you’ve created.
Step 2: Add 4-6 Inches of Gravel to the Hole
Once your hole is dug, pour in 4 to 6 inches of gravel. This will create a barrier between the concrete and the soil underneath and will increase the strength of the foundation significantly.
It will also improve drainage, which will help the foundation to last longer.
When the gravel has been poured, tamp it down using the post until it’s as compressed as it can go.
If you want to, you can also add down a layer of wire mesh here. This will also help to keep the concrete segregated from the soil. It might be expensive to add wire mesh to multiple fence posts though, and ultimately it isn’t necessary.
Step 3: Brace The Post With Stakes
Insert your post into the hole, using a level to be certain that the post is placed perfectly verticle.
Then, using two or three stakes, brace the post so that it will stay upright while the concrete is being poured.
At this point, you may want to repeat steps one through four for the other fenceposts you intend to set today.
Remember that you will never get these stakes back. They will be encased in concrete forever, meaning that if you do choose to use more than two stakes you should be certain that you have enough for all of the posts you’ll be setting since you won’t be able to reuse the old ones.
Step 4: Mix the Concrete
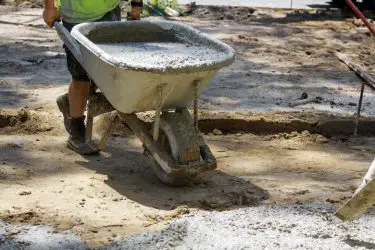
Now you need to start preparing your concrete. You probably won’t need a ton of concrete for this project, so you can probably mix it in a wheelbarrow.
If you think that you won’t be able to mix enough concrete for the project, you may be able to pour the concrete into the hole dry, adding water afterward.
If you use a fast-setting concrete mix, like the QUIKRETE Fast-Setting Concrete Mix (link to amazon), you won’t even have to mix it. Just pour the mix in, add the right amount of water, and let it sit.
That is an extremely easy way of setting a fence post in concrete but the instructions are not exactly the same as in this guide.
For instructions on how to do it, just read our guide to setting a fence post in concrete without mixing.
Back to the ordinary way of setting a fence post in concrete…
Be sure to put on protective gloves, glasses, and a mask before working with concrete. Concrete is highly caustic, and it can seriously damage your body if you come into contact with it, dry or wet.
When you mix concrete, you can use pretty much any long-handled tool that you have available as long as you have your thick rubber safety gloves on.
However, the best tool for the job is usually a broad ended shovel. Shovels are great for mixing concrete because they can also be used to help get the concrete where it’s meant to go.
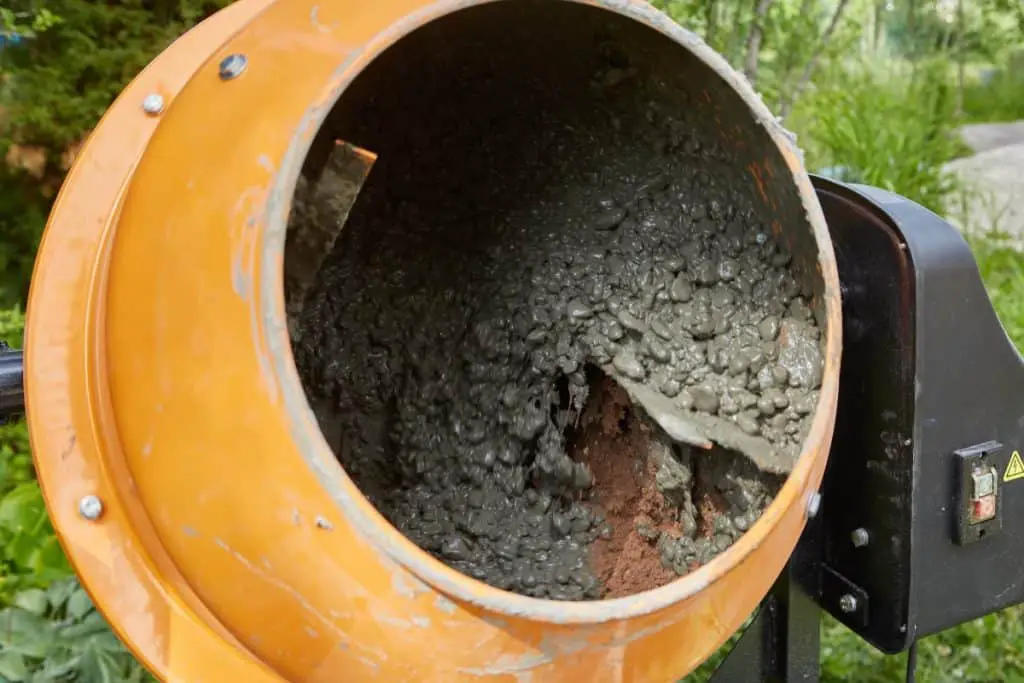
If you do plan on mixing a lot of concrete, you might rent a cement mixer to make the mixing process easier. This is usually a great option, and this project should be no different.
Also Read: Best Concrete Mix for Fence Posts for Ultimate Strength
How To Mix Concrete
First, you need to put the bag of concrete into the wheelbarrow. Then you’ll cut it open along the line, being careful to keep as much of the mix as possible in the container.
When this is finished, it’s time to add water. For every 50lbs of concrete, you’ll want about one gallon of water.
Adding water is a delicate process, and you want to be mixing all throughout the adding process. Before you even think about pouring the concrete, you need to check and make sure that you have the right amount of water in the mix.
If the mixture is too dry, it will be difficult to work with. On the other hand, if the concrete is too wet, it will be runny and it won’t be as strong as you want it to be.
You can test this by taking an old cup, scooping up some of the concrete, and then turning it upside down over top of the place that you’re mixing as if you were building a sand castle.
- When the cup is removed and the concrete holds its shape, it’s too dry.
- If it melts completely, it’s too wet.
- When the concrete will slump to about half of the height of the cup, it’s the right amount of water.
Read more: How to Mix Concrete the Right Way
Step 5: Pour the Concrete Into the Hole
If you’ve already mixed the concrete, you just need to put enough of the concrete mix into the hole that it rises a little ways above ground level.
Meanwhile, if you’re adding the concrete to the hole dry, you’ll want to pour concrete into the hole until it’s about three or four inches from ground level.
When this is done, all you need to do is add about a gallon of water for every fifty pounds of concrete, which should increase the volume of the concrete so that it reaches the surface.
Pour the water slowly enough, and if you’re using the right kind of concrete, mixing might not even be necessary.
Read more about this technique: How To Set a Post in Concrete Without Mixing
The only exception to this is if your hole is more than thirty inches deep. If you need to pour a lot of concrete, you may need to add the concrete in two installments to give the water time to seep all the way through.
However, when you end up getting the concrete in the hole, be sure to add a little bit more than you think you’ll need.
It’s always better to add more concrete than is necessary since it’s easy to remove excess concrete but it can take a lot of effort to mix up a whole new batch of concrete just to patch a little gap.
Step 6: Trowel It Into A Slope
Now that your concrete is poured, you’ll need to use a trowel to slope it so that the highest point is the closest to the post and the lowest is the furthest away.
This will help to keep water from collecting near the wood and damaging it.
It will also prevent water from pooling on the concrete, which can happen if the concrete is level and will cause serious damage.
If you poured the concrete in dry, you may not be able to do this.
If that’s the case, just pile up dirt on top of the flat concrete surface after it’s set enough to hold weight. This won’t perfectly solve the problem, but it will at least hide the ugly cracked concrete underneath a pile of dirt.
Drainage is very important when it comes to fenceposts. Since they’ll be left outside and exposed to the elements all the time.
Without proper drainage, it is fairly easy to end up with a rotting post that can be easily destroyed by meddlers, wild animals, or the wind.
Step 7: Let The Concrete Cure (At Least 4 Hours)
Now that the concrete is in the ground, it’s time for you to let it cure. It must be given time to strengthen before you start putting heavy loads on it.
It’s important to recognize that curing doesn’t mean drying. This means that methods meant to get water out of the concrete will not help it to cure faster.
That means that fans, hand towels, hairdryers, and sprinkling extra Portland cement to soak up excess water will not actually help your concrete cure.
In fact, doing these things will ultimately hurt the curing process, making your concrete significantly weaker than it would be otherwise.
Instead of drying your concrete out, you should instead simply wait for a couple of hours. There is no way to speed this time up, which makes it a good built-in resting period.
If it’s especially hot outside, you may even want to put a layer of water over the surface of the concrete to keep it wet. Heat can act to prematurely evaporate the water that’s needed for the curing process, but if the concrete is kept a little bit wet it will be able to keep itself hydrated.
You may also encounter problems if you pour your concrete in very cold temperatures.
When the ambient temperature drops below 50 degrees Fahrenheit, the concrete will freeze and stop curing entirely. This means that you should always keep track of the weather while waiting for your concrete to cure.
Once the temperature gets back to normal, curing will resume. However, you need to make sure that you aren’t counting any time the concrete spends under 50 degrees towards it being cured enough to hold weight.
After 4 hours to a day, the concrete should be cured enough for you to move on to do the actual work building the fence. When concrete is fully cured it should be able to hold pretty much anything that you want it to.
Step 8: Seal The Gap Using Caulk
You can simply use caulk for this step. By caulking the place where the concrete and the wood meet, you can keep water from running down into the post into the space between the wood and the concrete.
This will help the wood avoid mold or rot by keeping it dry.
This can be done fairly simply by taking the caulk and applying it to the area you swish to seal.
While it won’t make the post waterproof or anything, it is a great way to keep it sturdy for longer than it might be on its own.
Of course, you’ll want to wait to caulk your post until after the concrete has fully cured, meaning that you might be doing it after you’ve already built the fence.