As most houses are constructed, the basements are built with walls that are either made of poured concrete or concrete blocks stacked on top of each other. Let’s be honest, these surfaces aren’t very appealing to look at. If you are intent on “finishing” a basement, one of the very first steps is to confront those bare concrete walls.
Concrete walls in a basement can be covered most commonly by drywall, which requires sealing, installing foam board sheets, assembling a wooden frame, and gluing the drywall in place. However, there are other good materials to use as coverings such as fabric, wall vinyl, stone veneer, and paneling.
Finishing a basement can be a very cheap but rewarding DIY project. If done right, it could pay off in the long run because it can increase the value of your home. Because basements have the most potential, you can do anything you want with it in the finishing process. It can then be both rewarding and creative.

Table of Contents
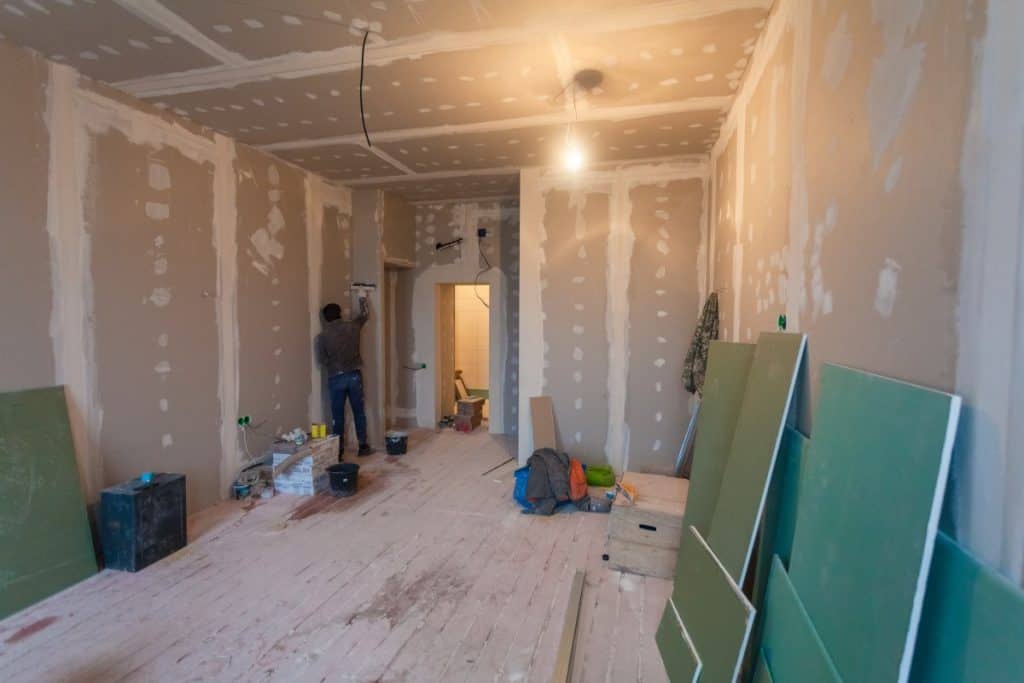
Install Drywall To Cover Concrete Walls
The most common way to cover concrete walls (as well as ceilings) is by installing drywall or “wallboard.” Drywall panels are made from calcium sulfate dihydrate, or “gypsum,” and come in different thickness sizes.
Drywall is typically used as a better and faster alternative to wood or plaster.
Before you begin finishing the basement walls with any kind of covering, be sure to check for humidity and moisture in the walls and the basement in general. Never finish the basement walls until everything is dry first.
If the concrete still needs to cure or dry, you must wait at least a month before the curing process is done before beginning your finishing project.
Drywall panels can come in different kinds and are made by different manufacturers. The best kind of drywall is the one that is moisture-resistant. That way, it can prevent the growth of mold or mildew in the wall.
Here is a list of general steps to install drywall:
- Seal the concrete with a concrete sealer. Unfortunately, concrete is porous and absorbs water rather than repels it. Water that gets stuck in its pores for a long time will become homes to plant growth. Good concrete sealers will block up the pores of the concrete, preventing any seepage. Here’s a guide on how to seal concrete.
- Install foam board sheets. To do that you need to glue adhesive to the concrete and make sure you have measured them properly before installing them.
- Use 2×4’s to construct a wall frame. Do it on the floor and then place it up against the concrete wall.
- Fill the wall frame with 2×4 fiberglass batt insulation. Good insulation resists moisture as well and can be cut to the length that you need.
An alternative way to install drywall is to use furring strips with foam. This option preserves floor space using 2×2 wood strips rather than a 2×4 wall frame. However, this method doesn’t leave room for much electrical after the insulation has been installed.
Overall, drywall is a good way to cover ugly concrete walls in the basement and is definitely preferred over other methods. However, be sure to consult an expert depending on your specific wall situation (windows, electric wires, etc.).
Always take precautions to save yourself money and grief later on. Not all projects are meant to be DIY.
Are you also interested in adding a wall? Read our guide on how to build a wall frame on concrete.
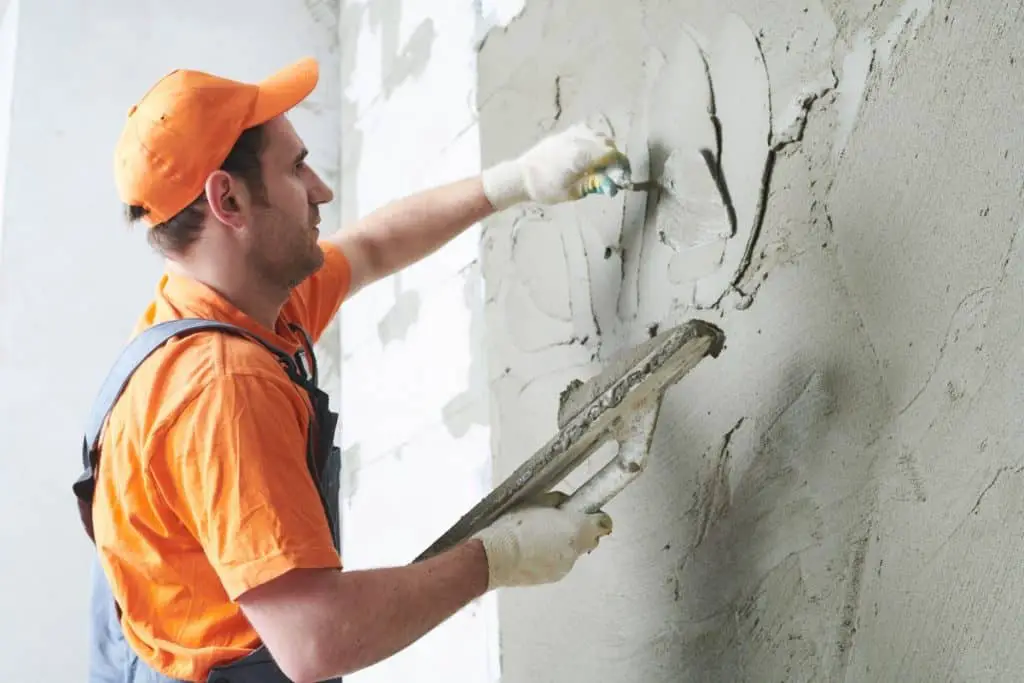
Cover A Concrete Wall By Parging
Parging is another cheap way to cover up concrete that is both inside or outside. Pargin concrete walls are when you apply mixed mortar or plaster to concrete in order to cover it. Much like stucco, this gives the concrete a more aesthetically pleasing look.
You can buy premixed parge mixes or you can create your own mix. These mixes contain a mixture of sand, Portland Cement, and lime.
This is the best mix for parging:
| Material | Amount |
|---|---|
| Sand | 3 parts |
| Portland Cement | 1 part |
| Lime | 1/4 to 1/2 parts |
| Water | Enough so that the consistency is not too runny. Start small at first then keep adding until the mixture can’t absorb any more liquid. |
Make sure you know what texture if any, you plan on using with the plaster before you start applying it.
The mixture should be a thick paste. If it’s too runny, you will need to add more mixture to make it thicker. If it’s too thick, add more water.
Apply the mixture to a moistened concrete surface. The reason for this is because the plaster will moisture from the concrete. If it’s dry, then the concrete will absorb the moisture from the plaster, drying it out and crumbling it.
The first layer should be about 3/8 of an inch. Let it dry for 24 hours, then apply another optional 3/8-inch coat.
Much like concrete, the plaster will need to be misted or sprayed with water over the next 2 to 3 days so that it can cure properly.
Use Fabric To Cover A Concrete Wall
Your concrete doesn’t necessarily require that you build something to cover it. You can use any type of fabric covering you want, and there are a few ways you can hang fabric to veil your ugly concrete wall in unique and creative ways.

One way is to simply use the fabric as wallpaper and glue it onto the concrete. As glue, you can use liquid fabric starch, which you can create at home with just some corn starch and water.
A simple recipe to make your own liquid fabric starch:
- Pour 1 tablespoon of corn starch into 1/4 cup of cold water.
- Bring to boil 4 cups of water.
- Pour the mixture of corn starch and water into the boiling water.
- Cook mixture for 1 minute.
- Pour the mixture into a spray bottle.
Another way is to simply buy fabric (such as curtains) that you can hang from rods, or staple the fabric into wooden wall frames instead of drywall.
It will depend on your style and how you want the fabric to cover the concrete. It can be up against the concrete, or you can create a hanging effect with the fabric. Your choice.
As in all wall finishing projects, make sure that the fabric does not get wet. It can be a breeding ground for mold and mildew.
Wall Vinyl & Wallpaper
Vinyl is an adhesive material that can be customized with any kind of design applied to concrete walls. They can be customized to add personalization and character to the basement, depending on what you want. They can be anything from solid colors to branding designs.
Smooth surfaces are easier to apply the vinyl to, as opposed to rough or rocky surfaces. If your concrete has a highly texturized surface, then you will have to use vinyl that is specifically designed for those types of surfaces, such as Graphic Film for textured surfaces. However, for concrete, it’s recommended you always use heavy-duty vinyl.
The concrete surface should be cleaned before any vinyl is applied. Read our guide on best ways to clean concrete basement walls for some great tips.
If there are any bumps in the wall, one solution is to sand or grind them down. Otherwise, they can cause application problems or even be seen from underneath the vinyl. Eventually, the vinyl will need to be removed and replaced.
If it’s installed correctly, wall vinyl can give a very nice aesthetic to any room. They are quite cheap, too, and can be found on Amazon in many different designs.
Check out some popular wallpapers right now!
Vinyl is only one type of wallpaper that can adhere to the concrete. For most other wallpapers, you will need paste to adhere it to the concrete.
Here’s how to make wallpaper look good on concrete:
- Smooth out the concrete with sanding tools. Make sure there is no peeling paint or any other imperfections on the surface.
- Apply cement to dents and holes in the concrete wall.
- Brush the wall of dust and other debris.
- Treat the concrete with two coats of interior latex primer and allow it to dry completely.
- Use a sponge to smooth the wallpaper over the concrete and cut off any excess wallpaper.
In certain situations, you may need to call a professional installer. Concrete can be tricky, and vinyl can be tricky too, depending on several different factors.
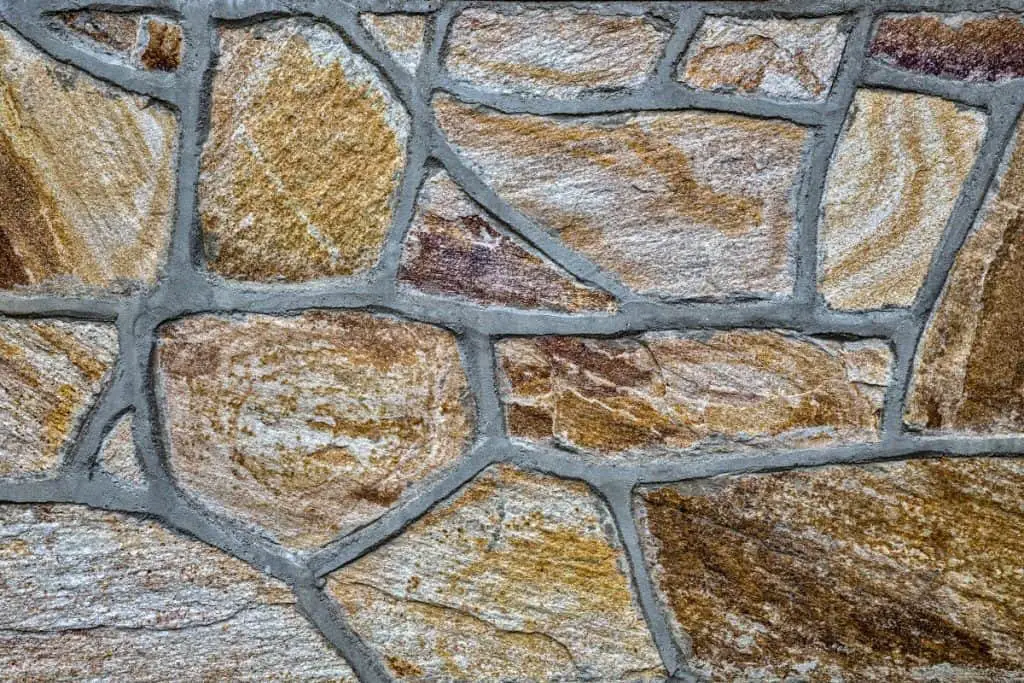
Stone Veneer Is Perfect To Cover A Boring Concrete Wall
There are two types of veneers to choose from when it comes to stone: traditional, natural tone and cultured, or “faux” stone. Cultured stone is composed of stone that is artificially-made, but can deceive even the most attentive. The traditional veneer uses real stone and is thus likely to be more expensive.
Veneers of stone can be applied to both exterior or interior locations. For basement concrete walls, it may be an excellent option because there are several different patterns and colors of stones you can use to make the downstairs space more distinguished.
It doesn’t have to cover the entire wall, either, but can be placed in specific spots. For example, around a fireplace.
To install a stone veneer, you first need to have the design and pattern of stones in mind. You need Type-N mortar, which is the best kind of mortar for stonemasonry, grout, and a masonry brush.
Steps for installing a stone veneer on a concrete wall:
- Place the stones in the desired pattern on the floor. You may need to cut or trim stones to the necessary sizes depending on how large or small the surface is.
- Brush away all dust and dirt from the stones.
- Mix the mortar with 2 parts sand and 1 part Portland Cement. It should have the thick consistency of cream.
- Apply half an inch of mortar to the back of the first stone, then press the stone against the wall.
- Force some of the mortar to squeeze out of the sides by rotating the stone.
- Remove any excess mortar before it sets.
- For best results, as you keep applying stones, make sure that the joint lines between them are as narrow as you can make them.
- Once finished, apply the grout to fill up any large gaps between stones.
- 4 to 5 weeks later, you may apply a sealer to the surface of the veneer to protect it. This will need to be reapplied occasionally and consistently. Clean the veneer occasionally with water and a brush.
Also read: How To Paint a Concrete Wall To Look Like Stone
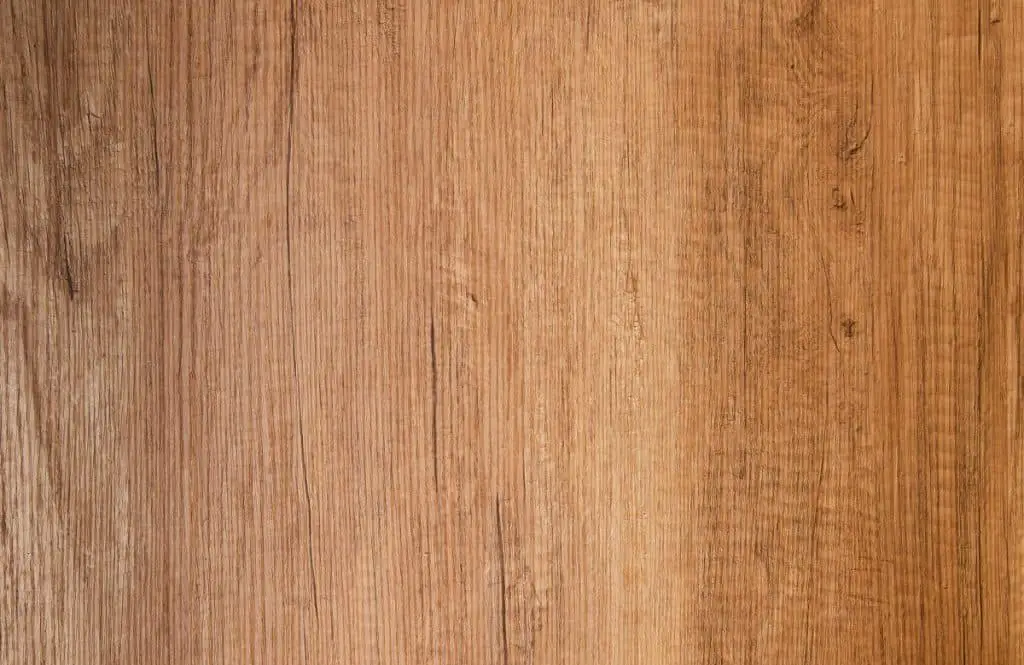
Fiberboard Wood Paneling
Applying a type of paneling that appears like wood could be a beautiful cover for concrete. Most wood paneling is actually made from fiberboard, an artificial wood product.
There are three types of fiberboard: low-density, medium-density, and high-density. Wall paneling usually only includes the medium-density fiberboard.
- It is recommended that you apply a concrete sealer to the entire concrete wall before applying wood paneling. Apply with a paint roller.
- Cut the paneling to the size of the concrete wall. Cut at least 3/4 of an inch off the panel so that it hangs a little above the floor.
- Apply strips of special paneling adhesive to the back of the panels as opposed to the general-purpose adhesive. They are sold in tubes and can fit easily in calk guns.
- Press the panel in place on the wall.
Paint Or Stain Your Concrete Wall
Painting or staining concrete can be another viable option to cover up your basement wall. The main difference between painting and staining concrete is that paint remains on the surface of the concrete while staining soaks deep into the concrete.
Both can be used to beautify concrete in specific ways and have different aesthetics.
Both methods have their problems too. Paint can eventually chip or peel if improperly applied. You’ll need to be sure to use paint designed for concrete (masonry paint or “elastomeric paint”) that expands and contracts with the concrete.
On the other hand, staining can fade if it’s not sealed soon after application. A sealer will need to be reapplied to it occasionally as well.

As with previous methods, before you do any painting or staining of concrete, the surface must be cleaned.
Staining is applied with a sprayer while the paint is usually applied with a brush or roller. They come in different colors and additives.
For stains, there are acid-based stains or water-based stains. The latter comes in a more variety of colors. For more information read our article ‘The Difference Between Acid Stain and Concrete Stain‘.
The basic steps of painting a concrete wall:
- Clean the surface of the concrete.
- Use a sealer on the concrete.
- Apply a primer specific to the type of paint you’re using.
- Paint the concrete and leave it to dry for a day.
- Add a second or third coat of concrete paint sealer.
For a more detailed guide, read our article on how to paint concrete indoors.
The basic steps of staining a concrete wall:
- Clean the surface of the concrete.
- Apply the stain.
- Rinse the concrete with water.
- If you’re using an acid stain, you need to neutralize the stain with a basic substance like baking soda or ammonia.
- Add a final coat of concrete sealer and let dry overnight or longer.
Read more: Selecting the Perfect Acid Stain for Your Concrete Work